

I have been using this homeschool crate system now for five years. With 4 kids, it has become a crucial part of our homeschool. While it takes a lot of planning and prep work over the summer, it makes the school year run incredibly smoothly. Even when life gets busy, I know the bare minimum my kids need to get done each week to be where we want to be in June. Rather than making our homeschool too rigid, I feel like it provides us with more flexibility.
While I have modified this system to better suit our family, I did not come up with it. Several years ago, a friend showed me this post where a mom designed a homeschool crate system to plan out and organize every single day or her children’s homeschool year. My friend thought it was brilliant. I thought it was INSANE. Even as I agreed to try it, I kept saying, “This will never work.”
I was right. It totally didn’t work. That first year, I pre-planned all 144 days of our homeschool year. (One day is left open each week for field trips). I got super excited about all the awesome curriculum I found and got carried away. As a result, I added WAY too much to our folders.
We ended up doing maybe a third of what I had planned. Two thirds of it just got put straight into the recycle. We also skipped days when we were busy doing fun stuff and would then try to make up by doing 2 or 3 days at a time. (I should point out that I think my very organized friend had much more success following her plan.)
However, there were a few great outcomes of this giant experiment. First, since I had carefully divided up curricula over a year, we actually *finished* entire curricula. By this, I mean we made it to the end, not that we completed every last element. There were busy days when I would just do the reading associated with what my kids were supposed to have learned that day, while skipping the activities and written work.
Second, in future years I was comfortable planning a lot less. Seeing how much paper I wasted that first year left me feeling really guilty. I learned to be really careful about what I decided to include and really cautious against planning too much.
Lastly, by over-planning that first year, I got to try lots of different material. This allowed me to discover what worked well for us. It made it easier to know what I wanted to include in the following years’ folders and what I felt comfortable skipping. Since then I have tried not to print an entire years worth of a curricula unless I know for sure we will stick with it.
To be clear, none of the items I threw out that first year were bad, per se. It’s just that unstructured play time is very important to me. Even if an activity is educational and beneficial, I had to weigh that benefit against the lost free time. If I felt like we were covering the skill in a different way that I liked better, or if I felt that knowledge could wait until older grades, I threw it out.
As of this writing, I have been using a modified version of the crate system for 5 years. Especially now that I have 4 children to homeschool, this method has become indispensable to me. I spend several hours over the summer ripping out pages or printing curricula and dispersing them into each child’s folders. During the school year, I know EXACTLY what needs to get done each week for each child.
I’ve learned to not over do it. I don’t waste anywhere near as much paper as I did that first year. I try to spread the folder work out over the week, but honestly, everything that I put into the crates for one week could get done in a single 8 hour day, including breaks. (Note that my oldest is currently in 5th grade.) That leaves my kids plenty of time to pursue their own interests, participate in a myriad of extracurriculars, and still have time to play.
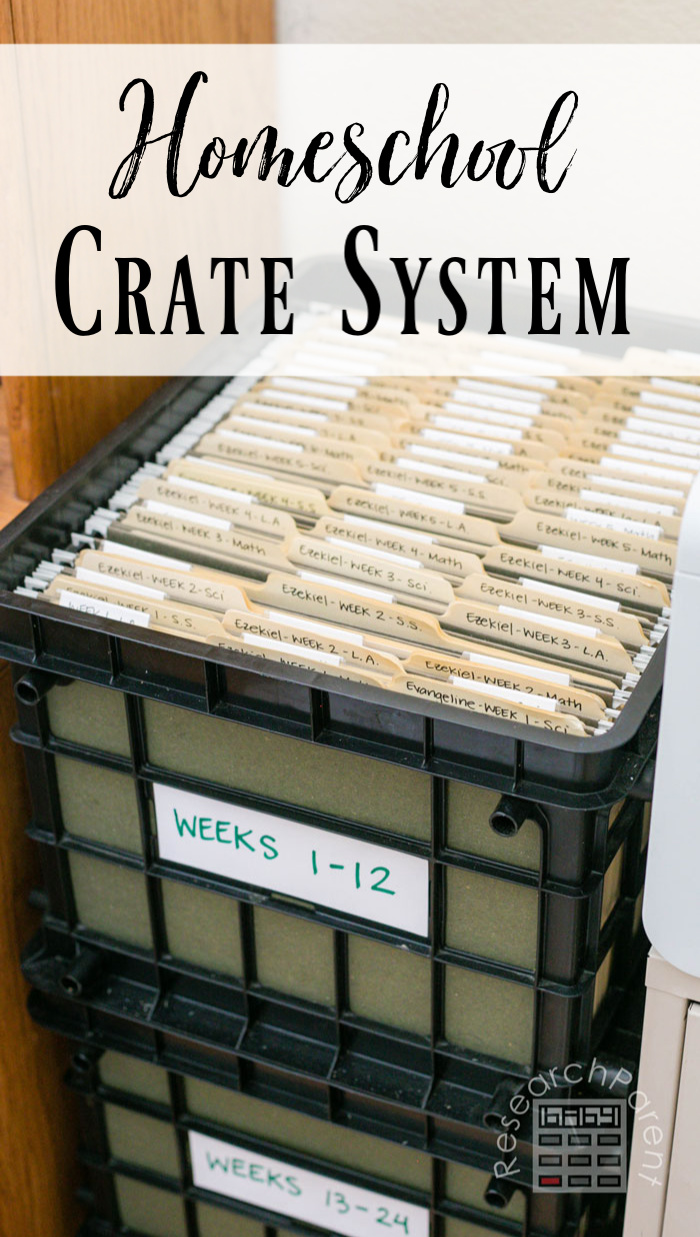
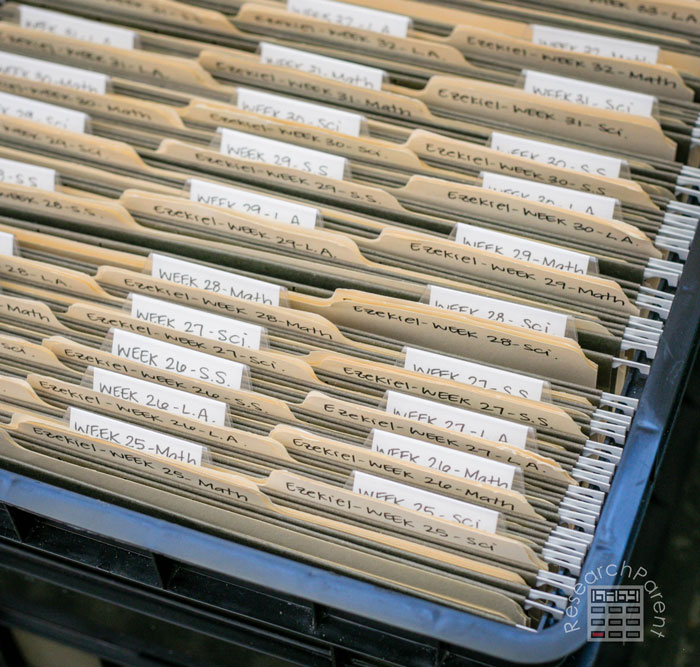
The biggest change that I have made from that first year using a homeschool crate system is that I no longer have my folders list the days. I didn’t need to change the number of folders. I still use 144 folders per child. However, instead of listing days 1 through 144, now I list Week 1 – Language Arts, Week 1 – Math, Week 1 – Science, Week 1- Social Science, and so on for all 36 weeks of the school year.
I prefer this week/subject format much better. I always know what week we are working on. Many times I like to focus on only one academic subject per day (plus fun stuff). Mixing subjects for each day was way too much for my brain to keep track of, especially when we fell behind. Now I can just remember, “Oh, we forgot to do our science experiment last week,” and know right where to look.
If you choose to have your child do something like math or geography daily, you would just put five days of work into that week’s folder and know right where it is. The frequency with which I lose papers (such as my children’s writing samples or math worksheets), has gone WAY down since implementing this system.
I know this system might seems crazy. However, if you find yourself wishing that you could get through a whole curriculum for any given subject in a school year, I highly recommend giving it a shot. Just to reiterate, there are things within curricula I end up skipping. I don’t dot every “i” and cross every “t.” However, in terms of getting to the end of the book by the end of the year, my homeschool crate system has made it not only possible, but inevitable, for every subject.
Homeschool Crate System Instructions
Recommended Age Range: Kindergarten, Elementary, Middle School, High School
Time Required: It took me about 2 to 3 hours to label all the hanging folders and file folders for 1 child. An additional hour was required to write the labels for each additional child. It is definitely a time investment, but you only have to do this step once over your entire homeschool career.
I spend several hours filling the folders each summer, which is fun for me. I like to have my kids do lapbooks and pre-cut out all the pieces over the summer while I watch movies. If you decided to go the more straight forward route of just ripping the pages out of workbooks or printing digitial curricula and sticking them in the folders, this would take much less time. However, I would still plan for at least a couple hours per child to stick all the paper in the appropriate folders.
Difficulty: Easy
Cost: I spent about $100 to acquire the supplies for the base system plus one child (crates, hanging folders, and file folders). Each additional child cost about another $15 in file folders. I provide affiliate links to Amazon below, but if possible, I would check a local store with office supplies for possibly cheaper prices.
How to Set Up Your Homeschool Crate System
Supplies:
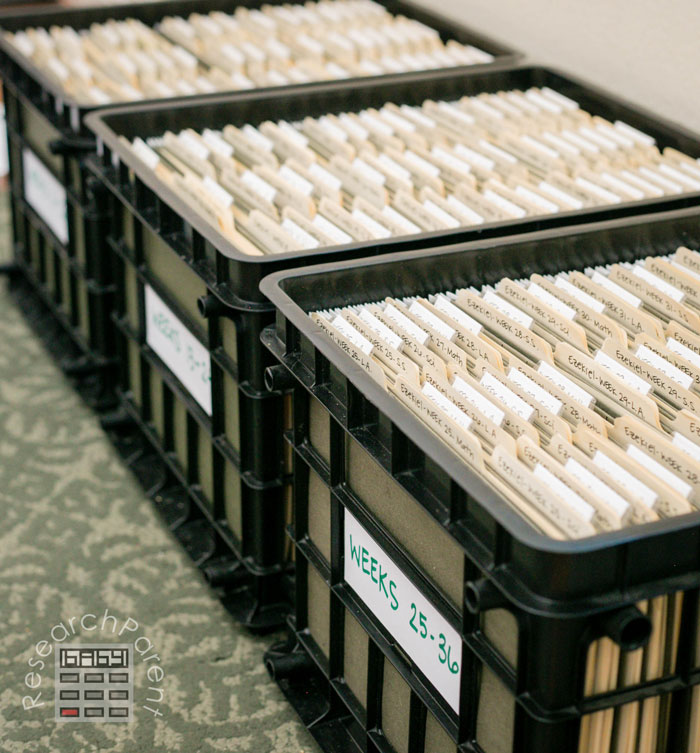
- 3-4 stacking crates (I could get by with three crates when I was using it for 2 and 3 children. I was on the fence, but I ended up adding a fourth crate when I added my fourth child to the system to give us more room. I think 4 crates would be plenty for 5 or 6 children as well. If you only have 1 child, 2 crates would probably be sufficient. I recommend buying as many crates as you think you will eventually need. I had trouble finding a fourth crate years later that would interlock nicely with the ones I already had.)
- 144 hanging folders/6 boxes of 25 pack hanging folders (This allows you to have a folder for 36 weeks of school for each of four subjects: math, language arts, science, and social science. If you wanted to add a fifth subject, like “electives” or “latin”, you would need 36 more folders. Personally, I choose to do our electives on an “open and go” looping approach. Therefore, I do not include them in this system.)
- 144 folding files for each child (Note you will need two 100 pack boxes for one child, 3 for 2 children, 5 for 3 children, etc. If you choose to add more hanging folders to include more subjects, you will need more folding files per child to match this number)
- a pen
Instructions:
- First, make the labels for your hanging folders. I recommend making a folder for each of the four core subjects: Math, Language Arts (L.A.), Science (Sci.), and Social Science (S.S.) and for each of the 36 weeks of school. I choose to write my labels as follows:
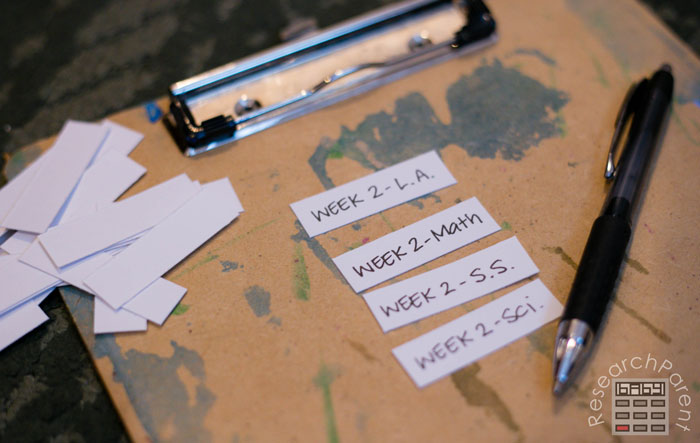
- Week 1 – L.A.
- Week 1 – Math
- Week 1 – Sci.
- Week 1 – S.S.
through
- Week 36 – L.A.
- Week 36 – Math
- Week 36 – Sci.
- Week 36 – S.S.
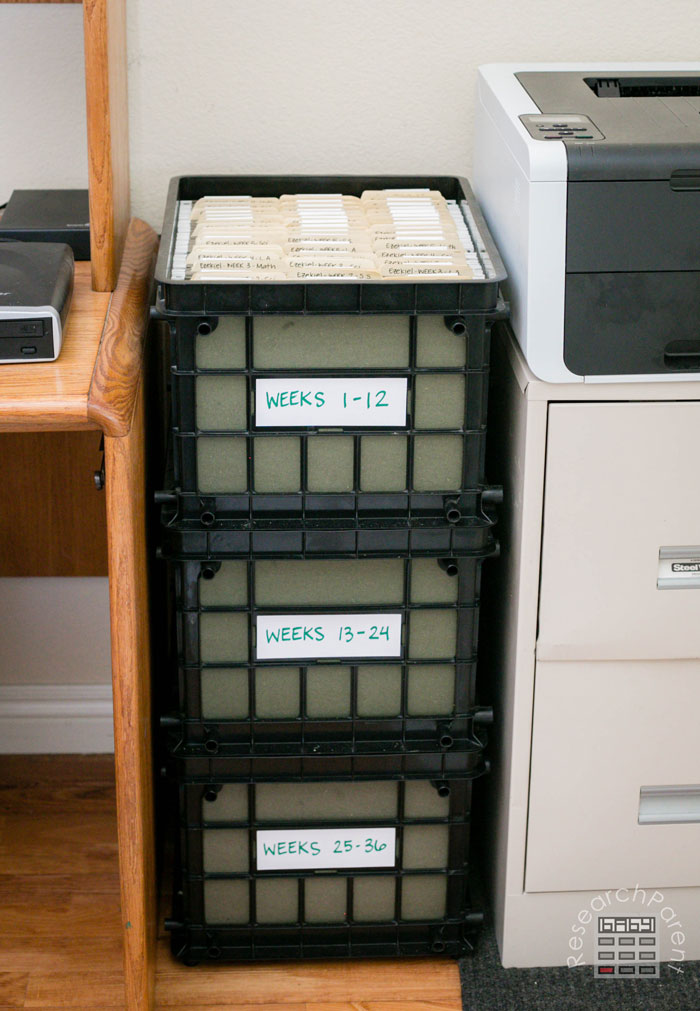
- Put the labels into your hanging folders and divide the hanging folders evenly between your crates. If you have 3 crates, place Weeks 1 to 12 in the first crate, Weeks 13 to 24 in the second crate, and Weeks 25 to 36 in the last crate. If you have 4 crates, place Weeks 1 to 9 in the first crate, Weeks 10 to 18 in the second crate, Weeks 19 to 27 in the third crate, and Weeks 28 to 36 in the last crate.
Note that I chose to stagger my labels to match the 3 positions on the file folders. You could do this any way you choose.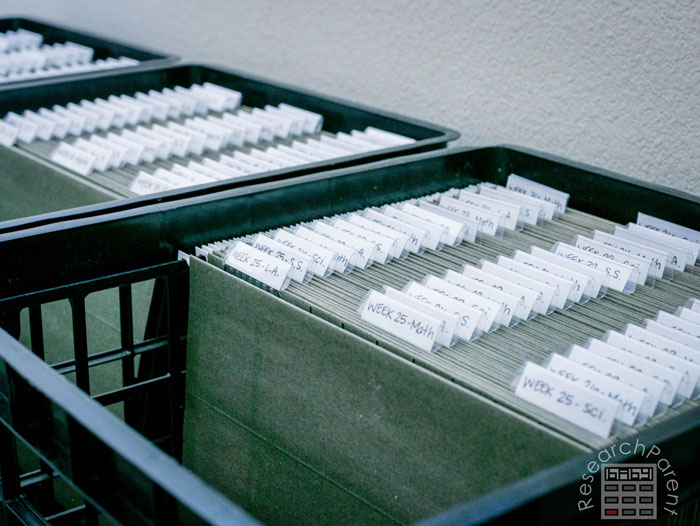
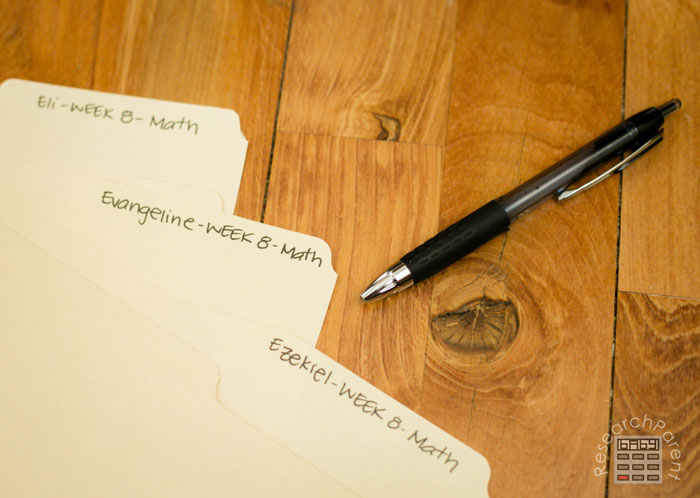
- For each hanging folder, make a file folder for each of your children. You could just write the name of the child to save time and place it in the folder. I was worried that the folders would get mixed up. Therefore, I included the week and subject on the file folders as well, but this was probably overkill.
- Place the file folders into the appropriate hanging folders.
- Make week labels for each of your crates, if you desire.
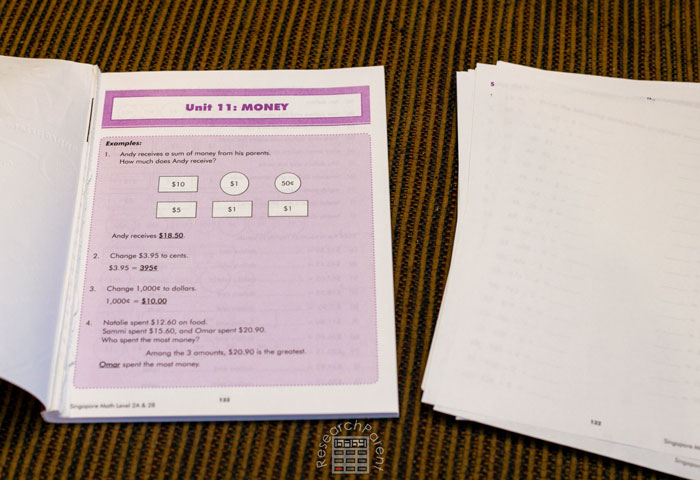
- Next you get to fill the crates with your curriculum for the year. If you have workbooks, simply rip the pages out of the workbooks and divide them among the 36 weeks. When it isn’t possible to divide the work evenly, I like to front load the year with the extra work. That way we do more when we start out and are motivated and less at the end of the year.
Personally, I am a fan of digital curricula. With four kids, it is the most economical. You simply print and divide the work among your folders. Now that I’ve been doing this awhile, I am able to print selectively. I do not necessarily print every page if I feel like it is repetitive and will be too much work for my child. I can always go back later and print extra pages if I feel like my child needs more.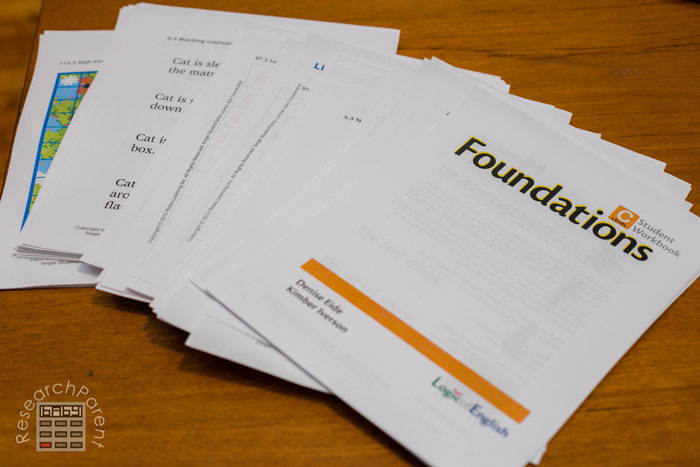
Lastly, if you are planning to have your child do lapbooks, you can use your summer months to pre-cut out all your pieces. This basically ensures that the work will get done as you have already invested so much time in the process. At least while my kids are young, I do a lot of this. My kids like the finish product and I like that it holds me more accountable.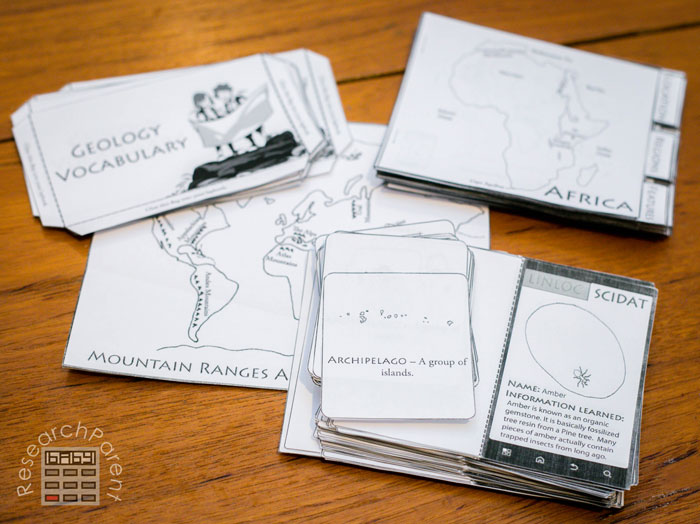
- Finally, find a place to store your stacked crates so they are convenient to access all year. I choose to keep mine in my the “office section” of our dining room between my desk and printer.
That’s it! Now you can feel great knowing that your homeschool year can run on autopilot.
Related Links
Learning Activities for Kids
Technology and Engineering Activities for Kids
Best Books for Kids
The post Homeschool Crate System appeared first on ResearchParent.com.