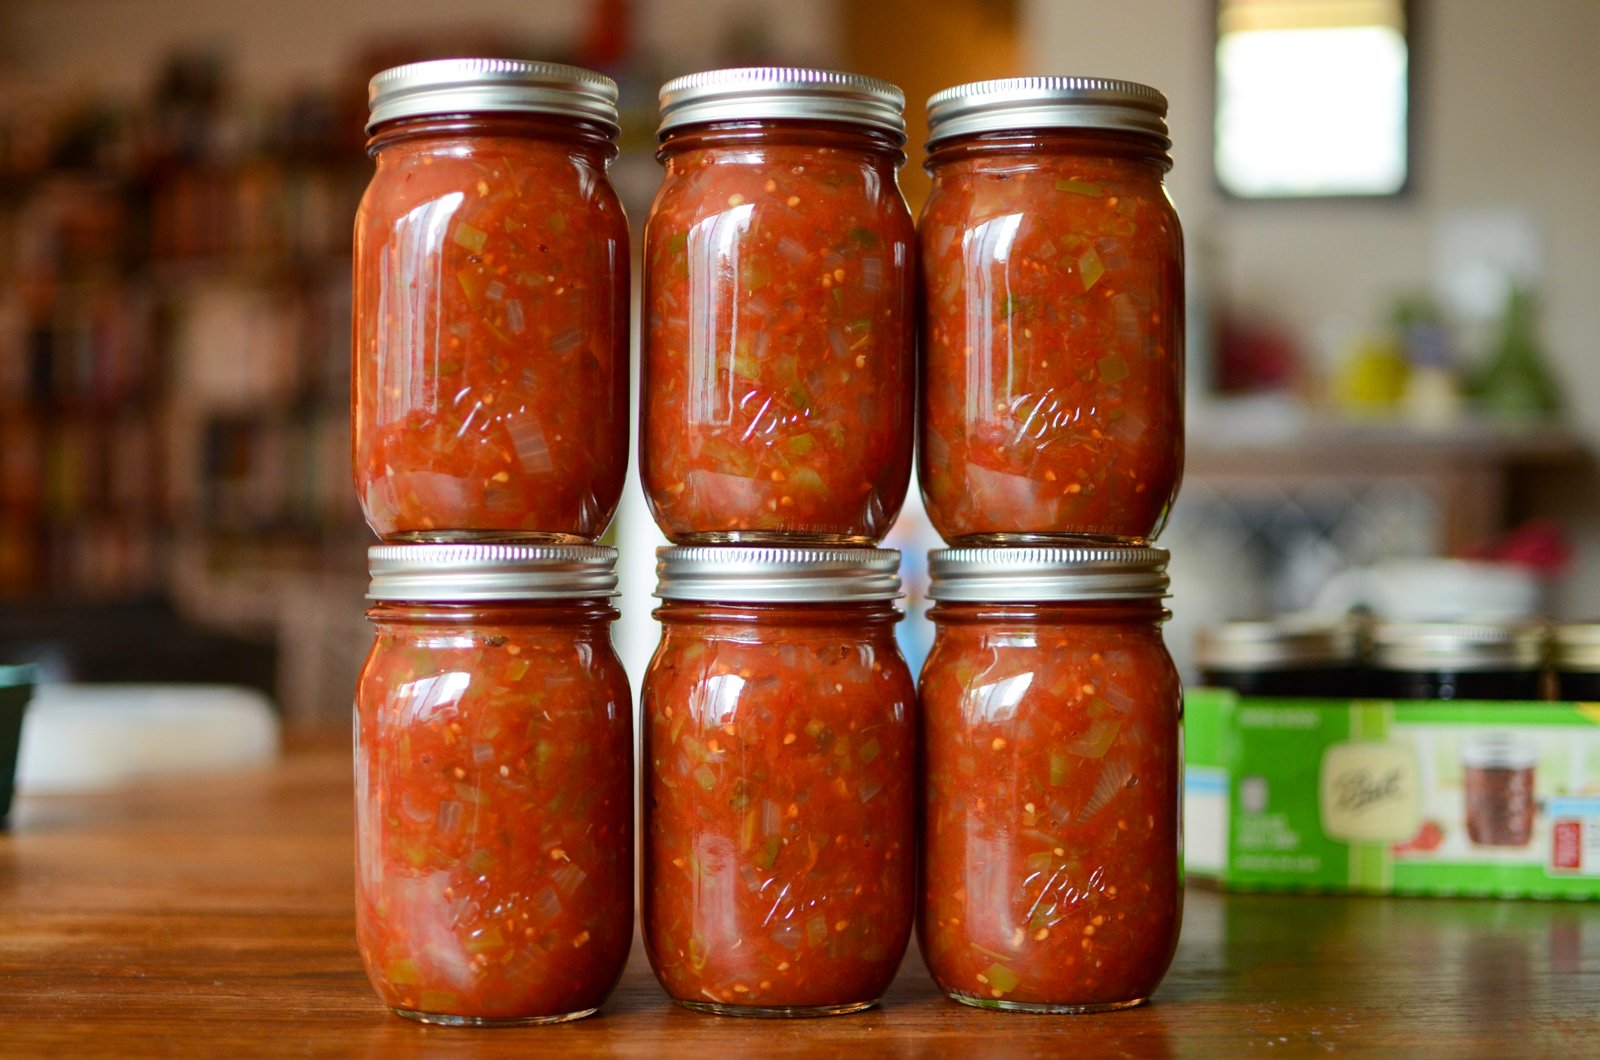
Do you like your salsa to serve up a serious kick? Then this Zesty Salsa from @ballcanning is for you!

This post is sponsored by the makers of Ball® home canning products.*
Canning tomatoes is something I do every year. Even the summer when my twins were newborns, I managed to pulp, pack, and preserve a half bushel box. In years past, I would often do as much as 150 pounds (a slightly insane endeavor in an 80 square food kitchen). When it comes to what I preserve, whole peeled tomatoes and a reduced puree are top on my must-make list, but salsa always holds that critical third position.

I certainly appreciate salsa to pair with chips or tacos. I also reach for a jar when braising chicken thighs, or when I need to give a pot of chili an easy flavor lift. This year, I’ve started building my homemade salsa stash with a batch of Ball® Zesty Salsa.
This thick, super spicy salsa gets its signature zest from 2 1/2 cups of hot peppers (over a pound!) and it’s not built for the faint of heart (or taste buds). I’ve taken care to clearly mark the jars I made so my husband knows not to grab those. He is not equipped for intense spice.

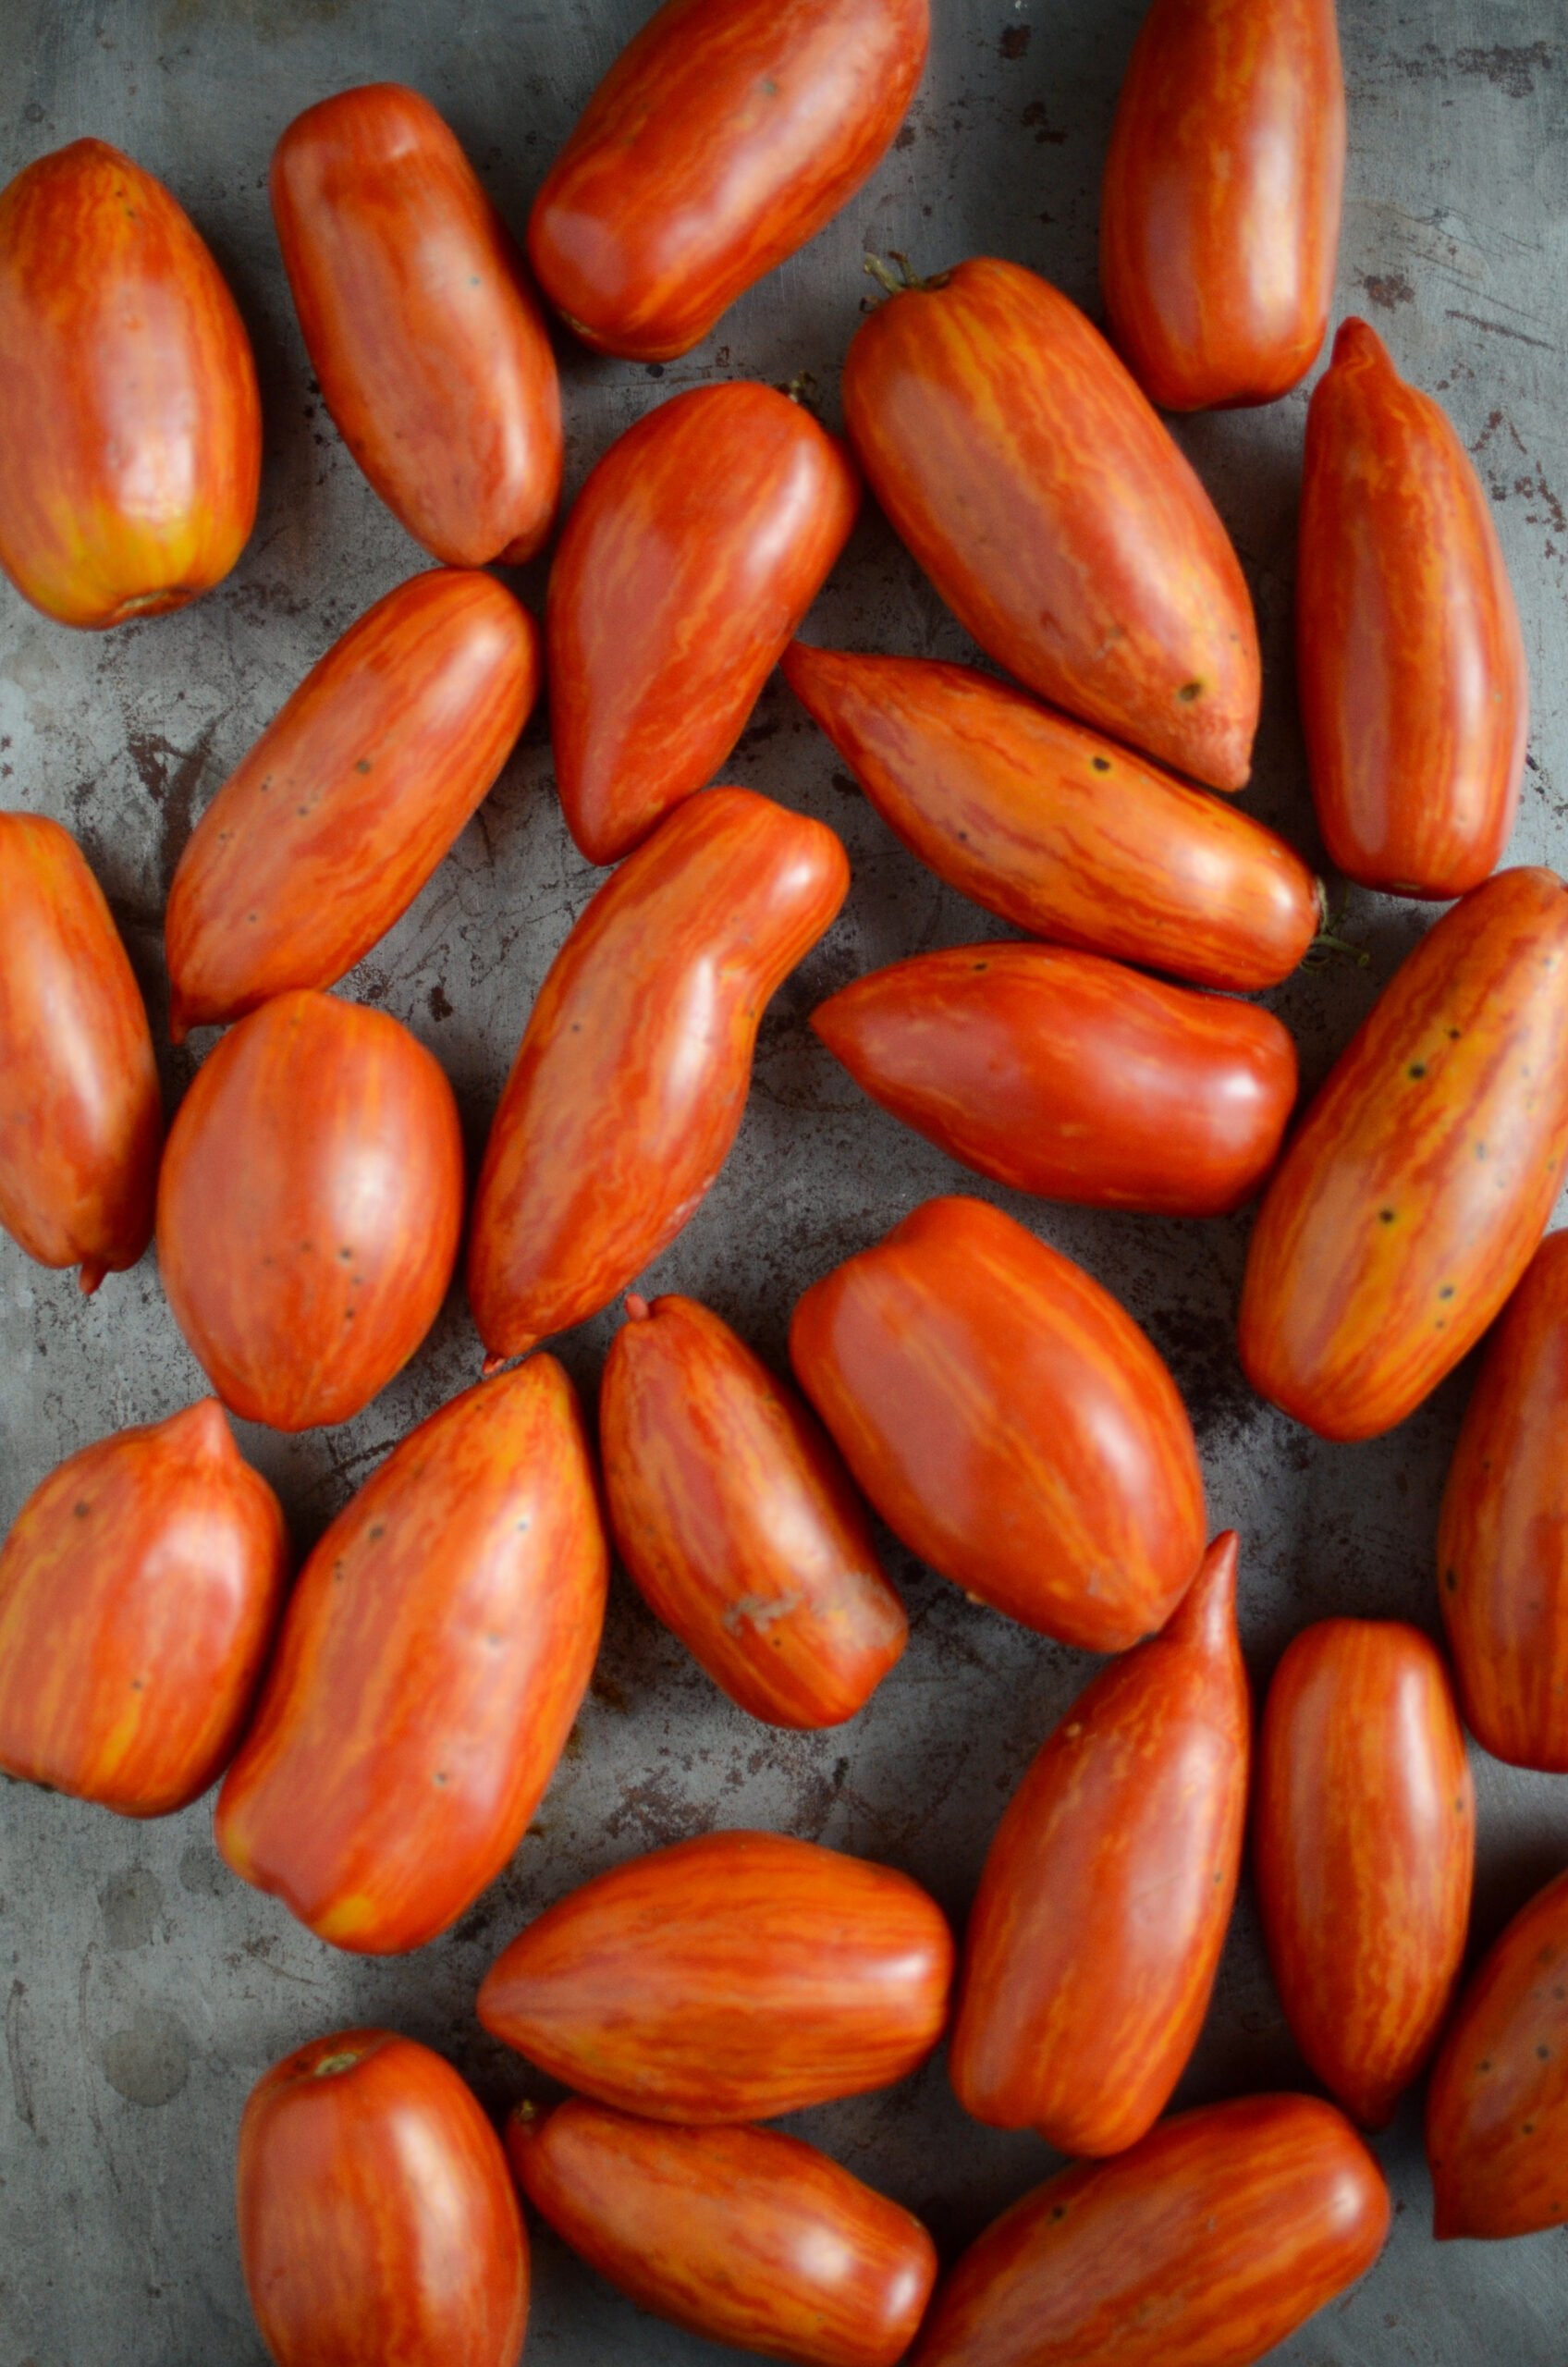
You start by prepping your tomatoes. You need 10 cups of peeled and chopped tomatoes. I ended up using around 6 pounds to get to that volume. Because this is a relatively small amount of tomatoes (at least when compared to many other tomato products), I peeled them using my alternative method.
Place a large heatproof baking dish in the sink. Put a full tea kettle on to boil. While it heats, cut your tomatoes in half and remove any particularly woody cores. Arrange the tomato halves, cut side down, in the baking dish. Once they’re all in there, cover them with the freshly boiled water from your kettle. Let them sit for 2-3 minutes.

Once you notice that the edges of the peels are curling away from the meat of the tomato, you’re ready to drain. Protect your hands from the heat and tip the pan a little to drain off some of the hot water. Then run cold tap water over the tomatoes. Proceed to peel and chop. I find that this technique is easier and makes a lot less mess than the traditional blanch and shock method we’ve all been taught.
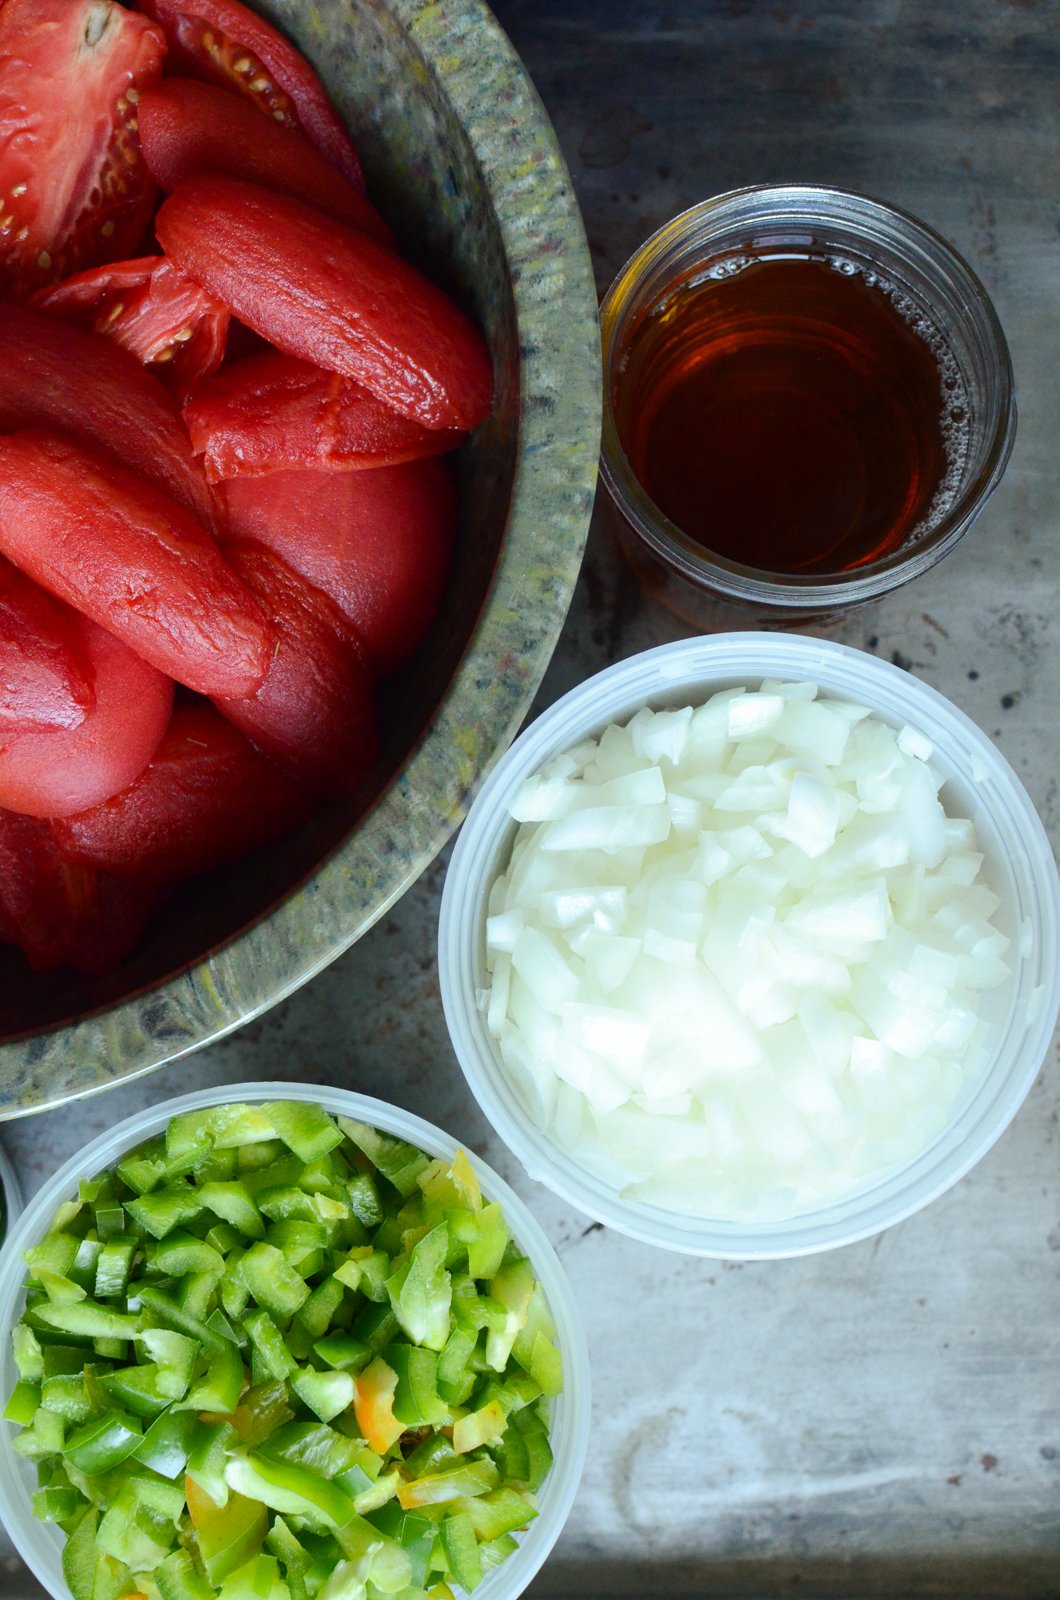
When your tomatoes are ready, get the rest of the ingredients prepared. Chop enough green peppers and onions to total 5 cups each (for me, this was five large peppers and three large onions). Finally, mince up hot peppers and measure out 2 1/2 cups. Please remember to wear kitchen gloves and take care with any boards and implements that have come in contact with your hot peppers.

In addition to the tomatoes, green peppers, onions, and hot peppers, you also need apple cider vinegar, garlic, cilantro, and salt. Here’s the full Zesty Salsa recipe.
Once all your ingredients are prepped, take a moment to get your canning pot set up. Fit your pot with a rack (I like the silicone mat that comes with the Ball® Canning Starter Kit). Place six pint jars (I used Ball® Smooth Sided pints here) on top of the mat and fill the jars and pot with tap water . Add a generous splash of white vinegar to prevent mineral deposits on your jars, and place the pot on the stove to heat.
Wash your new lids and rings with warm, soapy water and set them aside so that they’re ready for you when you’re ready for them.

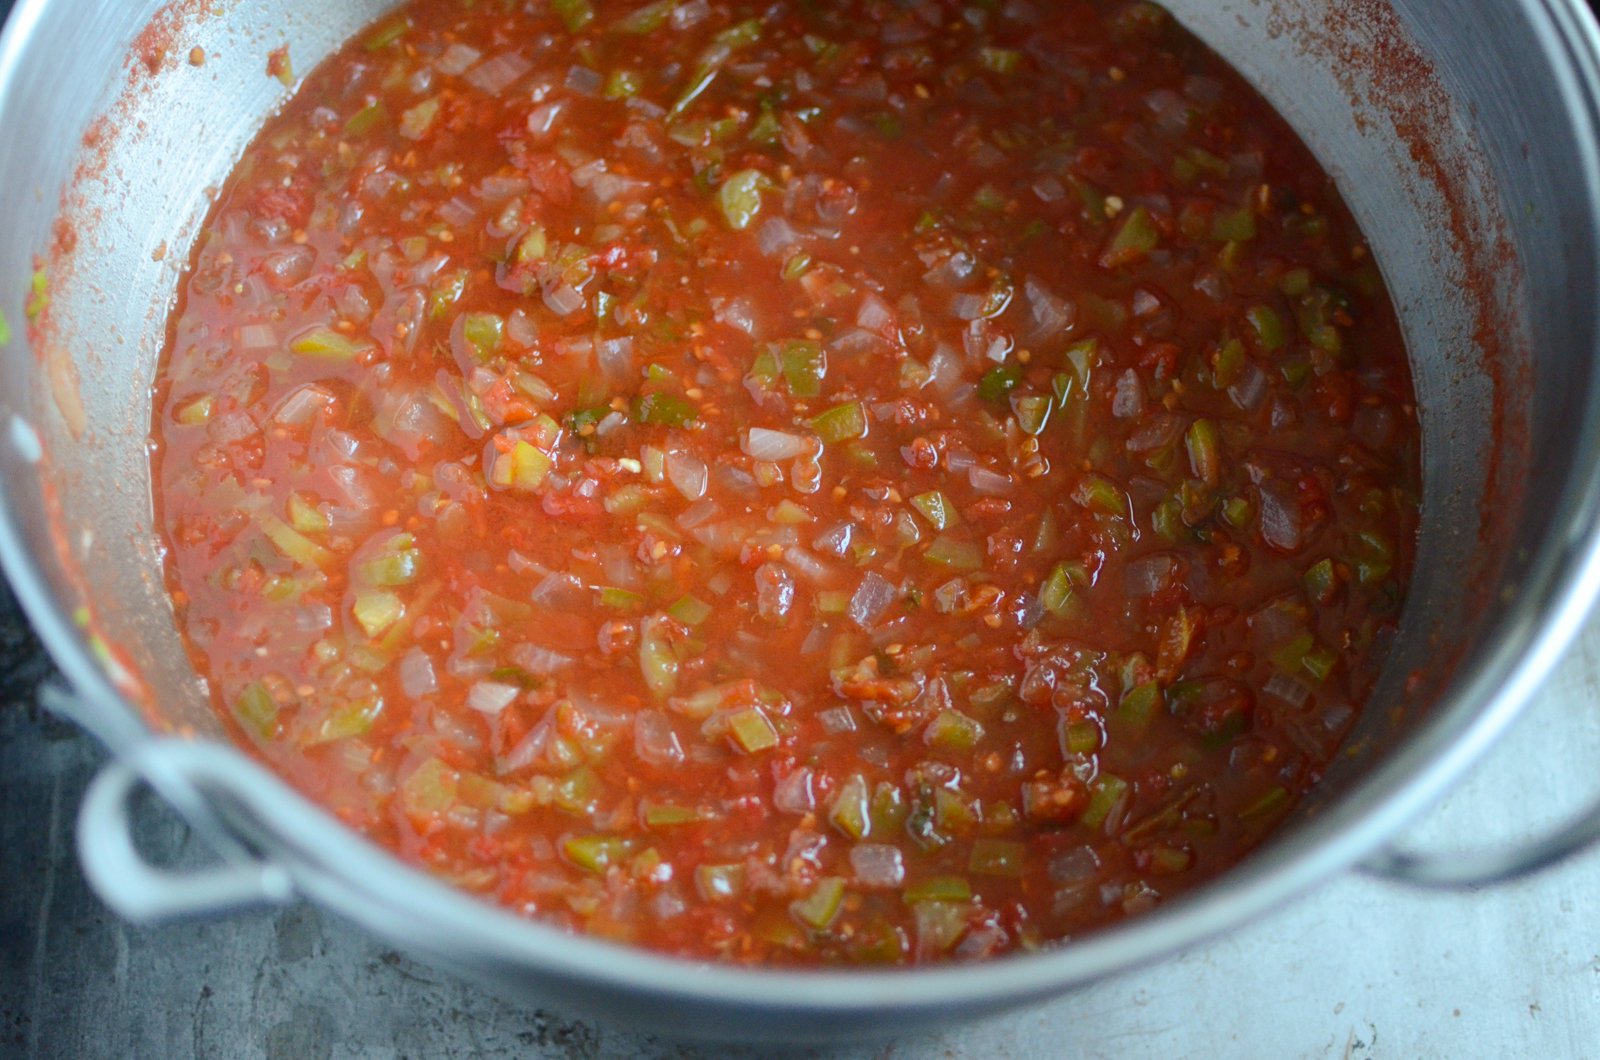
Now it’s time to cook. Place a large, non-reactive pot on your stove. Add the tomatoes, green peppers, onions, hot peppers, vinegar, garlic, cilantro, and salt. Stir to combine and bring the salsa up to a boil. Cook for approximately 10 minutes, stirring regularly, until the salsa has thickened a bit.
Once the salsa is done, remove the pot from the stove and get a hot jar from your prepared canner. Funnel some sauce into the jar, leaving 1/2 inch headspace. Wipe the rim, apply a clean, new lid and a ring and return the jar to the canner. Repeat this process with the remaining jars and sauce.

Process the salsa for 15 minutes, adjusting for altitude if you live above 1,000 feet in elevation. When the processing time is up, turn off the heat, remove the lid from the pot and let the jars stand in the pot for an additional five minutes (this allows them to cool more gradually, which helps prevent siphoning and should also help develop a more robust seal).
Remove the jars from the canner and set them on a folded kitchen towel. Let them sit undisturbed for 12-24 hours so they can fully cool and seal. Before storing, make sure to check that the seals are firm and unbending. Sealed jars are shelf stable for up to 18 months. Any unsealed jars should be refrigerated and used promptly.

The finished salsa is flavorful and perfect for all of your favorite salsa applications. Just know that the taste of vinegar is fairly assertive, so if you don’t like vinegar-based salsas, this one might not be for you. And remember, with acidified products like this one, following the recipe and including the full amount of vinegar is critical for a safe, shelf stable product.
*Disclosure: This is a sponsored post that is part of an ongoing partnership with the Fresh Preserving Division of Newell Brands. They have provided jars, equipment and monetary compensation. All thoughts and opinions expressed remain my own.

