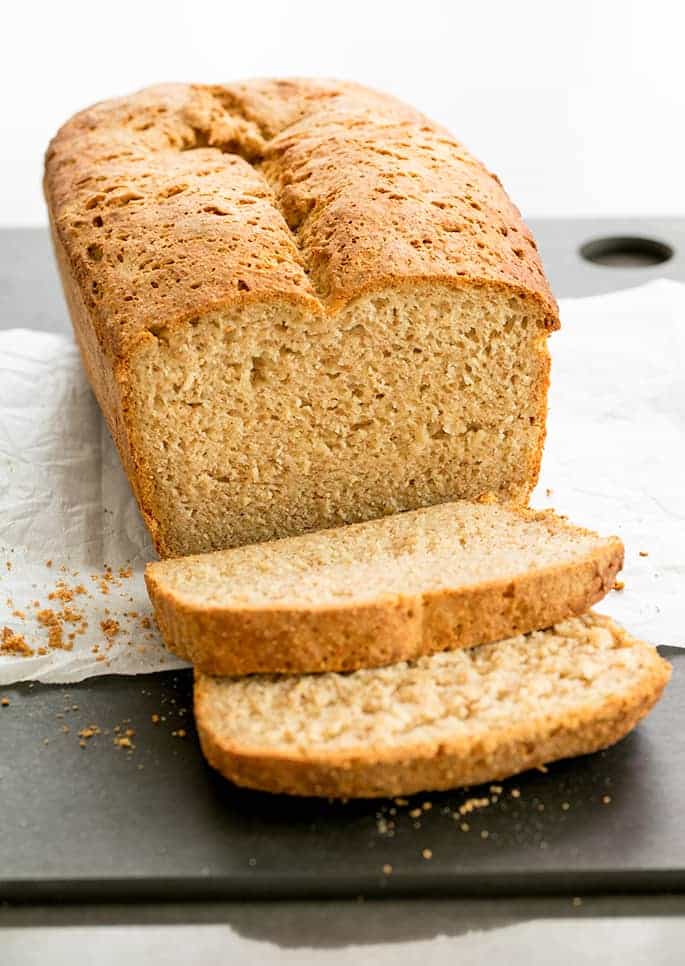
Here are my Top 10 Secrets to Baking Gluten Free Bread with yeast. There are tons of free gluten free bread recipes here on the blog, but the best place to start is right here, with these secrets.
Keep reading after that for some my favorite recipes (including my absolute best gluten free bread recipe) and even more tips to help you nail your next baking project.
Once you understand how to make gluten free bread successfully, you’ll be ready to select your first bread recipe and get started with confidence. Follow me as we tackle the science of gluten free baking so you can produce the best gf bread.
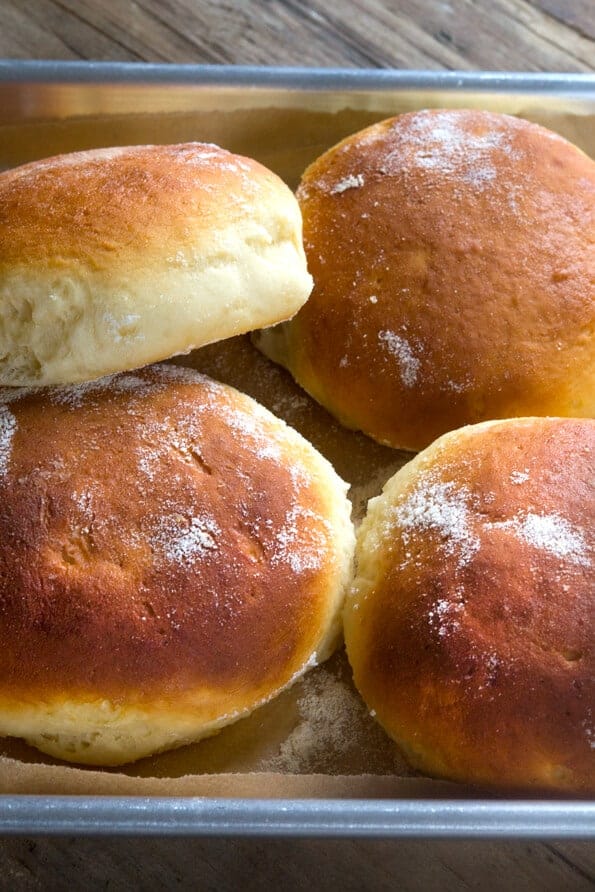
Secret #1: Don’t stray from tried and true gluten free bread recipes
Try to avoid making any substitutions the first time you make a gluten free bread recipe, especially one which is unfamiliar to you. If you have chosen a recipe that you can only make with substitutions, select another recipe.
Whenever a reader tells me that they are having trouble with a recipe, my first question is always whether they have made any substitutions. Some may work, but many will not. And early failure will make it very hard to stay motivated.
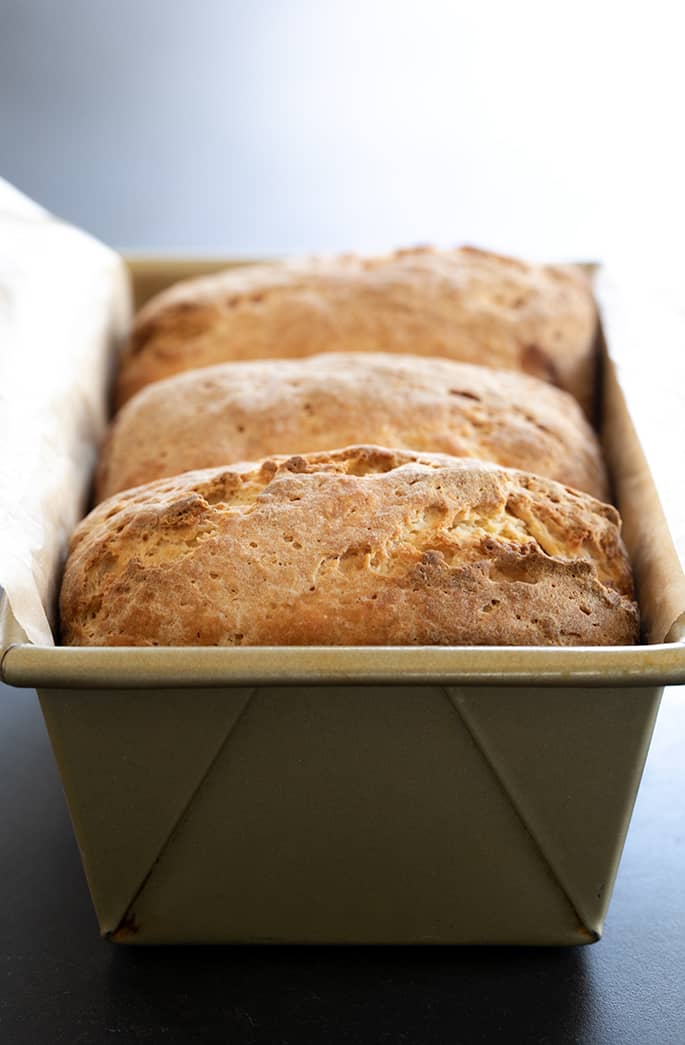
The easiest gluten free bread recipe to begin with is the recipe for the gluten free white sandwich bread recipe from my first cookbook. I posted it on the blog when the second edition of the book was published.
It’s a super simple recipe, and there’s a detailed video that allows you to watch over my shoulder as I make the bread. It’s pictured right below this paragraph.
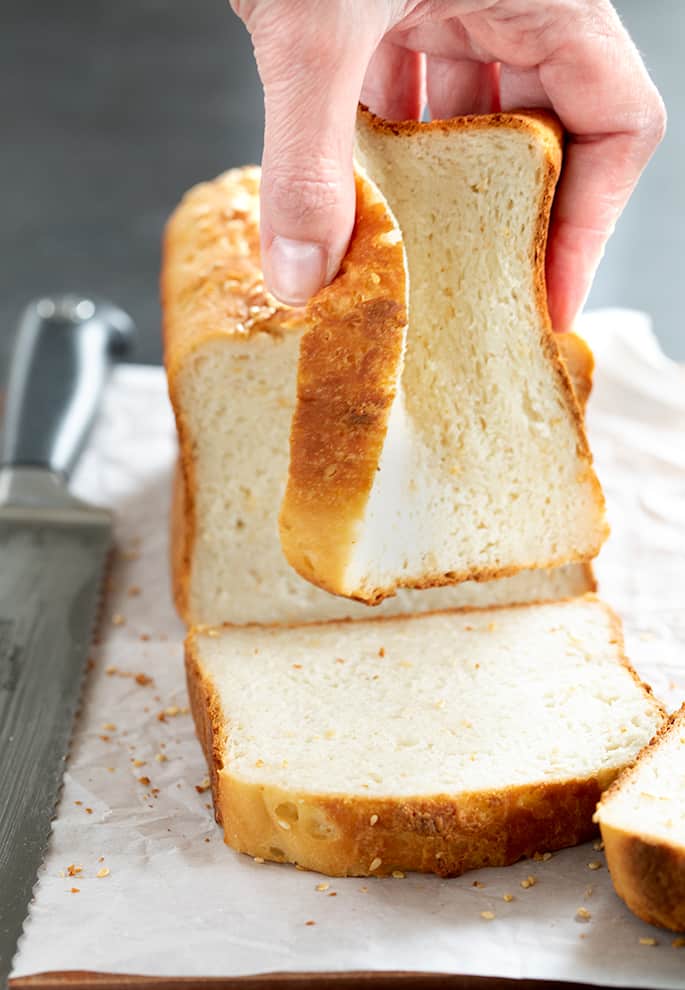
Secret #2: Gluten free flours are easily compacted, so weigh, don’t scoop!
Bake by weight, not volume. Proper proportions make the difference between success and failure. A serviceable scale is totally cheap, and easy to use. I recommend this one (affiliate link).
To use a digital scale, simply finish measuring one ingredient, and hit “tare.” It zeroes out the scale. Ready for the next ingredient, in the same bowl. Precision, easily.
In all of my recipes, 1 cup of all purpose gluten free flour weighs 140 grams. Don’t bother trying to see if the measuring cups you have in your kitchen match their volume to my weight measurements.
There is tremendous variation in volume-based measuring tools like cups and spoons, and user error is simply unavoidable. That’s the whole reason to use a scale.
Secret #3: Gluten free breads require precise baking times, and doubling throws it all off
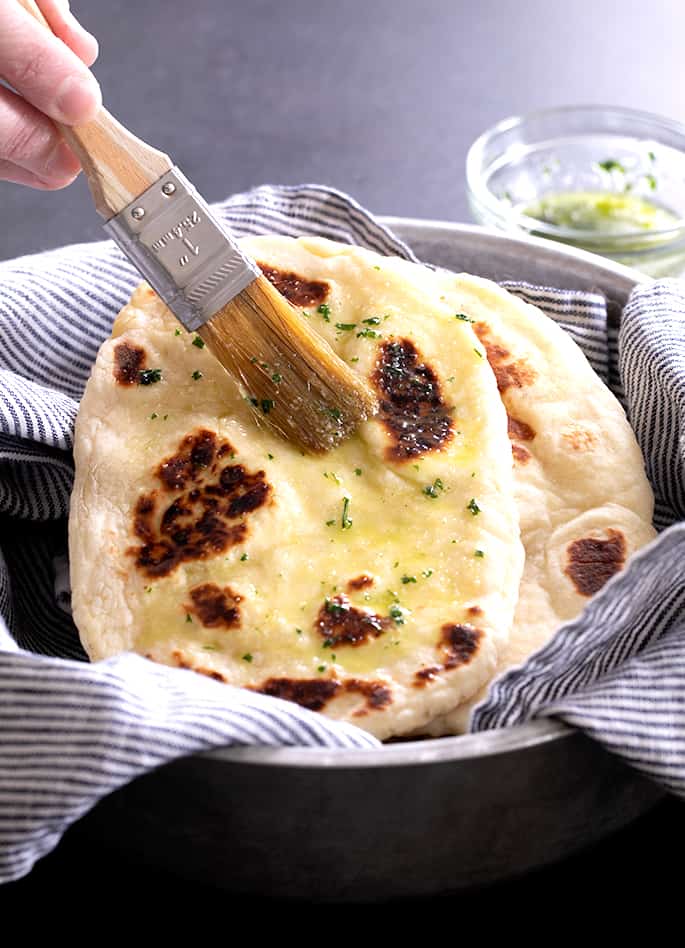
Don’t double a recipe for gluten free yeast bread to make twice as much, if it’s made in the batter style like our recipe for Japanese milk bread, pictured just below. But when it comes to any gluten free bread recipes that make a batter-style bread like the white sandwich bread, don’t double.
MORE
Secret #4: Make sure all ingredients are thoroughly blended
Gluten-free bread dough needs to be mixed vigorously. The best way to do it is with a stand mixer. Don’t have one? Do it by hand, and put some elbow grease into it. You can try using a hand mixer with dough hook attachments, but not with balloon whisk attachments.
And don’t worry about over-mixing. There’s no gluten to ‘overwork.’ If your end result has a really tight crumb and seems crumbly, it’s not that you overworked the dough. Your hydration level was likely too low.
The yeast bread recipes in the new bread book require a dough hook, just like traditional, conventional gluten-containing breads. Don’t have a stand mixer? No problem. A 5-speed handheld mixer, with dough hook attachments, will work great!
Secret #5: Gluten substitutes are vital for making gluten free bread that’s airy
Don’t try to bake bread without any gluten substitutes, like xanthan gum. When yeast gives off carbon dioxide during the baking process, gluten acts like a cloak and suspends the bubbles.
That allows the bread to bake around the air pockets. No gluten, and no gluten-substitute? No cloak, and nothing to “hold” the rise.
Other ingredients that can give you the bubbles you need for airy bread include carbonated beverages like sparkling water, ginger ale, ginger beer, and soda.
Just be sure to consider the recipe and the taste of some carbonated beverages to make sure they go together. For example, I’d avoid the orange soda at all costs.
What about psyllium husk gluten free bread?
Psyllium husk is a form of fiber (think: Metamucil) that has become relatively popular in gluten free bread baking as a replacement for xanthan gum. I’ve tried it, and I simply haven’t found a way to use it that produces a bread product that I like to eat.
Psyllium husk makes gluten free loaf bread that looks great, and is easy to handle. But I find it has a strange taste and a strange aftertaste. Since bread’s highest and best use is eating, those are deal-breakers for me.
When America’s Test Kitchen came out with their first gluten free bread recipes, they asked me to endorse them. I worked my way through some of their basics, which included a heavy reliance on psyllium husk.
It does behave similarly to xanthan gum, and is even more effective for breads because it’s even more hydrophilic (water-loving). And yes, I used the brand of psyllium husk that they recommend.
I promise you’ll be the first to know if I change my opinion of baking bread with ground psyllium husk. I wonder if I might prefer it used in smaller amounts, and with whey protein isolate, which I use in my gluten free bread flour.
Secret #6: Don’t bake gluten free bread without a thermometer!
Use a simple oven thermometer to gauge your oven’s baking temperature properly. Most ovens are calibrated improperly, and off by around 50°F. Yup. That much. One of mine is typically off by about 75°F!
Don’t bother calibrating it. It will just get out of whack again. Use an oven thermometer. Easy, cheap – essential. When you bake bread in a too-hot oven, the outside will bake before the inside has a chance to develop enough structure to support it, and it will cave as it cools.
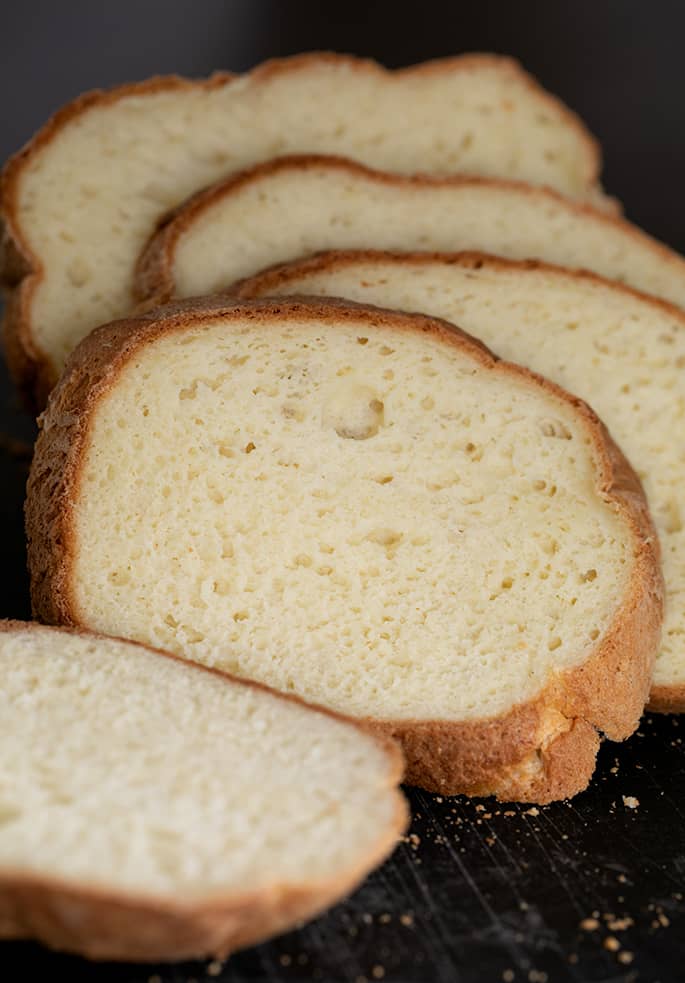
The simplest recipe for gluten free artisan bread, that can be mixed by hand in one bowl with the most basic pantry ingredients, is pictured above. It’s your everyday gluten free bread recipe.
Secret #7: Making great gluten free loaf bread is a bit of an art, so don’t give up
Don’t give up if your first loaf of bread isn’t perfect. It’s a skill. It builds with experience.
And even if the loaf isn’t gorgeous, it probably still tastes great. I bet you don’t take pictures of your food like I do. So just carry on!
Secret #8: How to get gluten free bread to rise? This right here.
Create the right environment for bread proofing. If you can swing it, consider a Brod & Taylor bread proofer. It’s amazing the even rise you can get in this little box of heaven. I got mine for free (I was a ‘tester’), but I would have bought it. No question.
If you can’t swing it, use my tried and true microwave-as-bread-proofer method. I used it for years and years, with good results.
Secret #9: Not all gluten free flours are created equally
Do not “throw a bunch of flours” into a bread recipe and expect it to turn out. And use instant yeast. No need to proof it as long as it’s comfortably within its freshness date.
If the bread didn’t rise, it’s very unlikely that the problem is the yeast. Trust me.
Secret #10: Don’t let homemade gluten free bread “out of a box” discourage you
You’ll notice a lot of gluten free bread mixes at the grocery store. These pre-packaged mixes promise delicious gf baked goods with minimal effort, but they usually fall flat.
If you’ve tried one of these mixes with disastrous results and think that all gluten free baking is destined for the same bland, dry, and crumbling outcome, please don’t!
I promise that if you follow one (or several, or all) of my gluten free bread recipes, you’ll enjoy bread that is better than anything you can find in a box.
Don’t always have the time to bake fresh? I can totally relate. Check out my review of the best gluten free bread brands that you’ll find at local markets and online for the tastiest packaged options.

My best gluten free bread recipes
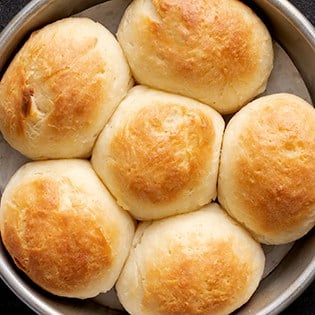
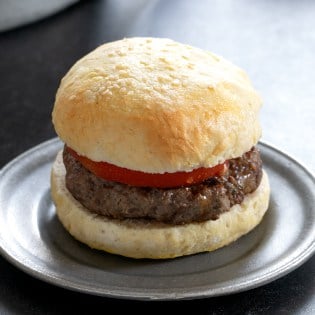
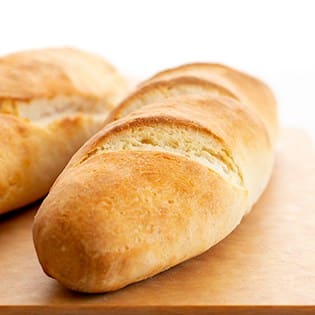
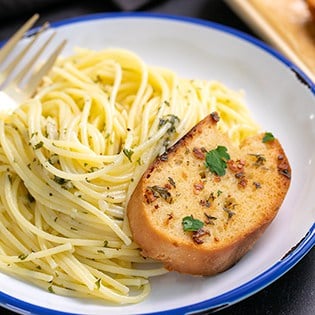
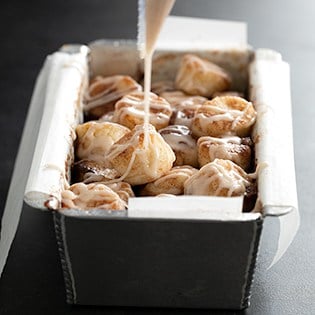
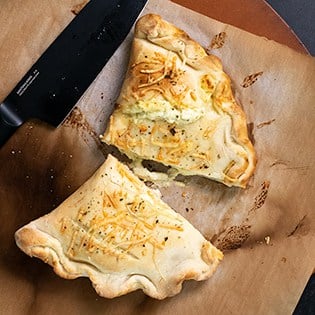
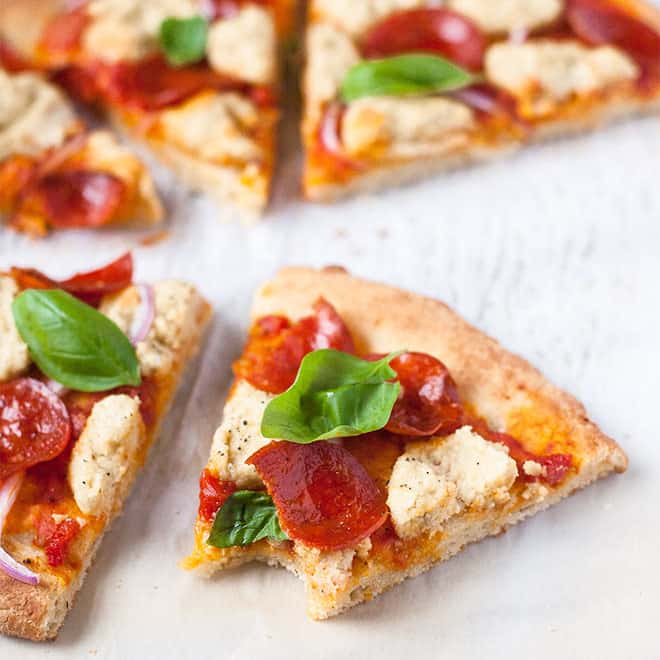
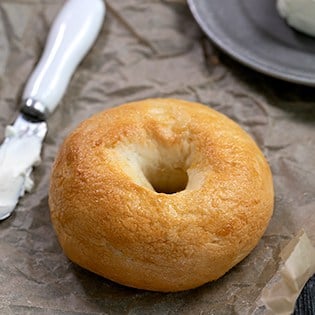
I’ve got lots of recipes for gluten free bread, but I think these are some of my best. Take a look to find a new favorite or five, and then keep reading for even more gluten free baking tips.
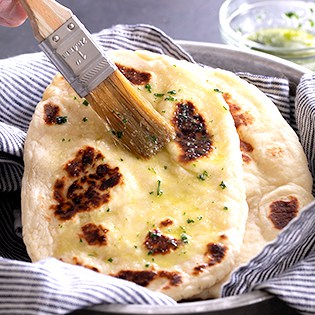
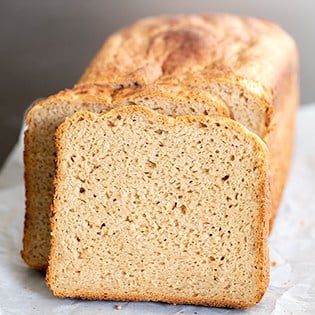
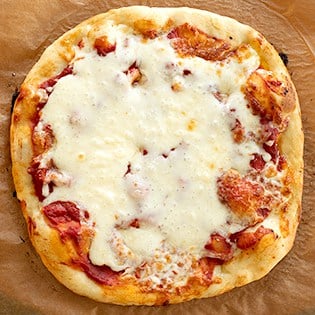
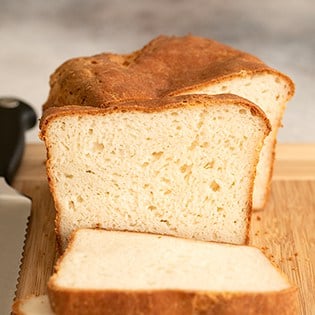


More tips for baking with gluten free flour and making gluten free bread
Does gluten free bread taste different?
When you pick a gluten free bread recipe from my extensive collection, there’s one thing I can promise you: It won’t taste bad.
In most cases, I would even say that these wonderful recipes don’t taste all that different from their gluten-containing counterparts.
And in a few magical cases, I’ll say that my gluten free bread recipes actually taste better than “the real thing”.
Common gluten free bread ingredients
Each of my gf bread recipes contains different ingredients that I’ve carefully tested time after time. But most of the recipes do share a few common ingredients. These include:
- All purpose gluten free flour blend – In most cases, I use Better Batter’s classic gluten free flour blend. It offers just the right ratio of ingredients and really helps replicate the taste and texture of “real bread”. I don’t care for their “rice-free blend,” which uses psyllium husk, at all, I’m afraid.
- Tapioca starch/flour – Even when you use Better Batter, which contains tapioca starch/flour, many of my bread recipes call for more tapioca starch as an added ingredient. Don’t skip it! It helps make the dough much easier to handle, and gives it significantly more chew when baked.
- Xanthan gum – You only need to include xanthan gum if your gluten free flour blend doesn’t already contain it. Xanthan gum is essential for maintaining your bread’s rise and structure.
- Yeast – As the yeast feeds off the sugars in your bread dough, it releases carbon monoxide, which creates bubbles as it escapes. This causes the dough to swell and rise, resulting in airy bread rather than a dense clump. My recipes typically call for “instant yeast,” also called rapid-rise or breadmaker yeast, which isn’t soaked first. If you must use active dry yeast, you’ll need 25% more yeast, by weight, and to soak it in some of the liquid from the recipe first.
- Sugar – Sugar feeds yeast, but it also tenderizes your bread, helps with moisture retention, and adds flavor.
- Salt – Salt is an obvious flavor enhancer (your gf bread would taste rather bland without it), but it also helps regulate your bread’s rise, keeping it from rising too fast, only to sink later.
- Milk – Adding milk to a gf bread recipe that calls for it helps produce a softer crumb.
- Butter – Like milk, butter contributes to a softer bread. The fats in butter keep the bread chewy and tender, and give it flavor in enriched breads.
- Eggs – Eggs acts as a binder and leavening agent, helping your bread come together and stay together.
Gluten free bread ingredient substitutions
I know that many of my readers try to avoid other potential allergens, so whenever possible, I offer substitution ideas in my recipes. As I explain in my recipes, I haven’t always tried these substitutions so you may have to experiment a bit, but I’ll let you know why I think they work.
Every bread recipe is different, but here are some common substitutions you can make to avoid typical allergens:
Gluten free, dairy free bread recipes
You can typically replace milk with dairy free alternatives like soy milk, almond milk, coconut milk, and oat milk. Just make sure to use a non-sweetened variety, so it doesn’t affect the bread’s flavor.
In most cases, you can substitute traditional butter with a vegan butter. I particularly like the offerings from Melt and Miyoko’s Kitchen, but Earth Balance Buttery Sticks may work in some instances too.
Gluten free, egg free bread recipes
For those wheat free bread recipes that call for 1 or 2 eggs, you may be able to use chia eggs instead. The recipe for each chia egg is 1 tablespoon ground chia seeds + 1 tablespoon lukewarm water, mixed and allowed to gel.
I’ve not used chia eggs in my gluten free baking, but I have lots of readers who’ve had great success. In place of egg whites, you may sometimes be able to use aquafaba (the brine from a can of chickpeas).
Gluten free, vegan bread recipes
In most cases, you can follow my substitutions for dairy and eggs to make vegan bread. Plus, select your granulated sugar carefully to ensure it’s not made with bone char.
However, some recipes may call for other non-vegan ingredients that we haven’t discussed here, so be sure to carefully review the recipe that you’d like to try for the most relevant info.
Baking bread with gluten free flour
Personally, I find that the best gluten free all purpose flour for most bread is Better Batter. It’s such a versatile blend, and it’s always worked beautifully for any recipe that’s called for an all purpose gf flour.
Better Batter is made with a blend of brown rice flour, white rice flour, tapioca starch, potato flour, potato starch, xanthan gum, and powdered pectin.
Curious about whether I know the exact ratio of these ingredients? It turns out I actually do, so if you can’t find Better Batter locally or simply prefer to make your own, all you need to do is follow my recipe for Mock Better Batter.
My DIY gluten free flour blend works exactly like the original version, so you can use it anywhere that calls for Better Batter — including most of my gluten free bread recipes.
Some of my bread recipes call for a very specialized gluten free bread flour blend that adds whey protein isolate and Expandex modified tapioca starch to Better Batter, but those recipes will call out the gluten free bread flour blend specifically.
Those breads that call for our gluten free bread flour blend will require fewer enrichments like eggs and butter, and the dough will be handled more like conventional yeast bread. But the recipe will be very specific about the requirement to use the bread flour, and that isn’t most of the bread recipes here on the blog.
How to make gluten free bread rise
There are always a lot of questions surrounding gluten free flour and yeast and the whole mechanism of “the rise”. Let’s clear up the most common questions right away:
- Does gluten free bread rise? YES.
- Can you use yeast with gluten free flour? YES.
- Will gluten free flour rise with yeast? YES.
Now that we’ve established that gf recipes can rise just like their gluten-containing counterparts, let’s talk about how to make gluten free loaf bread rise just the way you want to.
Do use the right gluten free flour blend
For starters, you have to use the right gluten free flour mix, as discussed above. If you use a blend like, for example, King Arthur gluten free flour, your yeast bread will not turn out. Even that company suggests avoiding their flour blend for yeast breads!
There are a lot of gluten free flour options out there, including but not limited to, brown rice flour, potato flour, millet flour, coconut flour, oat flour, buckwheat flour, sorghum flour, and almond meal.
But just because a certain flour is gluten free does not mean you can throw it into a gluten free bread recipe and expect good results. Or any meaningful results, for that matter.
Use the gluten free flour mix that each particular recipe calls for. In most cases, it will be Better Batter, but it could be different depending on the type of bread.
Do use fresh, high-quality yeast
Just as important as the right blend of gluten free flour is the quality and freshness of your yeast.
In most of my gluten free bread recipes, I use instant yeast. Also commonly referred to as quick rise yeast or breadmaker yeast, it’s the easiest option for bread baking because it requires no extra preparation.
However, if you only have dry active yeast on hand, we can still make do. You’ll need to adjust your yeast ratio (you’ll need 25% more) and to prep the yeast by soaking it in some liquid that the recipe calls for (don’t use extra liquid!), but it will work just fine after that.
Soaking your yeast in milk or warm water with sugar, a process known as proofing, is also something you can do if you’re unsure if your yeast is still good. If the yeast bubbles and foams after a few minutes, it’s good to use some of that batch of yeast in your wheat free bread recipe.
Do use room-temperature ingredients
Using room-temperature ingredients just makes sense.
Think about butter: Is it easier to mix when it’s straight out of the refrigerator and hard or when it’s been sitting out for a while and soft?
In addition to making for easier mixing, room-temperature ingredients are a must for promoting the proper environment for yeast.
In order to grow, yeast needs warmth. If you dump your yeast over chilly ingredients, it won’t properly activate, and you won’t get that delicious rise you’re looking for.
Do allow time for proper proofing
Proofing gluten free bread isn’t hard — you just need a warm, still place where your gluten free flour and yeast can do its thing. And the most important element in getting yeast bread to rise is time.
Overproofing is not a function of how long the dough has risen, but instead how much. If your kitchen environment is cool and dry, your yeast bread will take longer to rise.
But keep it covered, be patient, and as long as you’ve used the ingredients as directed in the method directed, and covered your dough as it rises so it doesn’t dry out, it will rise.
Working with gluten free yeast dough
Probably one of the biggest differences between preparing traditional, gluten-containing bread versus gluten free bread will the consistency of the dough… or rather, the batter, as it will be in some cases.
As gluten free recipes don’t contain gluten protein, you’re not going to experience that thick, stretchy dough that only gets thicker and tougher the more you knead and stretch those gluten strands.
If this is your first foray into gluten free baking, you need to hear this: Don’t fret about your gluten free bread batter. It may look unfamiliar, but it will produce bread like you remember. And in many ways, it’s easier to work with.
No gluten means you don’t need a bread hook on your mixer (unless that’s all you have on hand), nor do you have to roll up your sleeves to knead gluten free yeast dough. A mixer with paddles or beaters will work best, but stay away from a balloon whisk as your bread dough will get stuck, and it won’t mix properly.
Baking your favorite gluten free bread recipes
After you get your gluten free loaf bread batter into the pan, here’s what you need to do next.
Use the middle rack for best results
I prefer to bake my homemade gluten free bread on the middle rack of the oven.
If you use the top rack, you run the chance of the bread rising and touching the top of the oven.
If you use the bottom rack, the heat may be too great, burning the bottom of the gf bread before the rest has a chance to properly bake.
Gluten free bread internal temperature
In each of my recipes, I advise you on how long it typically takes to bake a loaf of gluten free bread. Unfortunately, these figures might not always work for you.
This is because ovens can vary widely in operating temperature — the thermostat may say it’s 350 degrees in your oven, but it could easily be off by 50°F to 75°F.
As most ovens fall out of calibration, here’s how to tell if bread is done:
- Use a stand-alone oven thermometer to gauge oven temperature, and replace it frequently (they’re super cheap)
- Insert an instant-read thermometer in the middle of your loaf, reaching down to the bottom of the loaf, but don’t touch the pan.
- If you’re not certain whether your loaf bread is baked all the way to the center, you can usually remove it from the pan, place it on a small baking sheet, reduce the oven temperature, and continue to bake it until it sounds hollow when thumped on the bottom or side.
Using a bread machine for gluten free bread
I don’t really recommend using a bread machine to make gluten free bread. I’m not saying that it’s not possible, but I don’t really see the point: Mixing and baking gf bread is simple enough as it is, and bread machines differ so significantly from brand to brand that you’d need a different recipe for each.
But if you do want to use a bread maker to help with mixing and/or baking, here’s what I suggest.
For mixing, look for the bread machine setting that offers just one mixing cycle as that’s all that your bread needs. If you can’t find that setting, see if you can manually set the bread machine to mix for about 20 minutes.
Once your bread batter or dough is mixed, you can remove it from the bread machine and continue baking as per recipe instructions.
If you’d like to bake your bread in the bread maker, look for the gluten free setting. Many modern machines have it, which offers appropriate rise and baking times.
If your bread machine doesn’t have a gluten free setting, look for a rapid or quick rise setting, or set it manually to do a one-hour rise and one-hour bake.
Cooling and slicing your gluten free bread
As with most bread, gluten free bread is a bit delicate straight out of the oven. For this reason, as tempting as it may be, you should not immediately cut into it. (And yes, it’s very tempting, I know!)
Instead, remove your bread from the oven and allow it to cool for at least 10 minutes. Then, take your gf bread from the loaf pan and allow it to cool completely on a wire rack.
Removing your gluten free bread from the loaf pan will prevent it from getting soggy by allowing steam to escape. Letting it cool completely will ensure it retains it shape for neat and easy slicing.
How to store gluten free bread
Because my best gluten free bread recipes don’t contain preservatives, your bread won’t last as long as store-bought bread. That’s okay, though, because bread tends to disappear into bellies faster than I can keep up with.
To store your gf bread for everyday use, keep it at room temperature on your countertop, covered tightly, and it should last the day. For longer storage, I recommend against the refrigerator, as it is very drying.
Instead, freeze your gluten free bread for use in the future. Make sure it has completely cooled, then slice it, wrap it in freezer safe wrap like Glad Press ‘n’ Seal, and then put it inside a freezer safe, zip top bag.
Your gluten free loaf bread will last up to three months with proper storage. Defrosting your bread is as easy as pulling out a bagel or a slice of bread, letting it defrost a bit at room temperature or in the microwave, sprinkling it with a bit of water, and refreshing it in a toaster oven.
Gluten free baking troubleshooting and FAQs
What is in gluten free bread?
Every gluten free bread recipe is different, but you’ll find many of the same ingredients in a gluten free version as you will in a traditional one.
For example, my gluten free potato bread recipe uses all purpose gf flour, tapioca starch/flour, potatoes, milk, sugar, eggs, and yeast like most bread recipes.
Is yeast gluten free?
Yes, bread-making yeast is naturally gluten free. Brewer’s yeast is typically gluten-containing, though, so select your yeast carefully.
What’s the best gluten free flour for yeast bread?
My favorite gluten free flour for yeast bread is Better Batter. It offers the perfect ratio of several gluten free flours to create gf bread that looks and tastes just like “the real thing”.
Do I have to knead gluten free bread?
No, you usually do not need to knead flourless bread. When making gluten free loaf bread, you simply have to vigorously mix ingredients to be sure they’re well incorporated. There are no gluten proteins to stretch, so no kneading is necessary.
Why is my gluten free bread not rising?
There are several reasons why your gluten free bread may not be rising:
- You’re not using the correct gf flour blend or you’re not using the correct amount
- Your yeast is not fresh or it’s not activating due to use of cold ingredients
- You didn’t allow enough time or the proper conditions for proofing
- You didn’t measure your ingredients by weight, including water, so the hydration ratio is wrong.
Why is gluten free bread so dry?
GF flours are very absorbent, so if you don’t include the right ratio of dry and wet ingredients, you’ll end up with a gluten free bread loaf that’s dry and crumbly.
Honestly, if you want to know how to make gluten free bread fluffy, the best thing you can do is follow your chosen recipe’s instructions very carefully.
Also remember that the more substitutions you make, the more likely you’ll end up with something different than the intended result.
Why is my gluten free bread so crumbly?
Lack of moisture will make gluten free bread dry and crumbly, but so will inadequate amounts of xanthan gum. Look at this important ingredient as a type of binder or glue that holds gluten free bread together.
Why is my gluten free bread gummy?
While it’s possible to include too little liquid in your gluten free bread recipe and end up with dry bread, you’ll experience the opposite if you add too much liquid.
Another reason you may pull gummy bread from the oven is that the bread wasn’t allowed enough time to bake. This can happen because you didn’t follow the gluten free bread recipe correctly; your oven is not correctly calibrated; or altitude, humidity, or temperature is affecting final results.
How to tell if bread is done? Make sure your internal bread temp is between 205°F to 210°F.
How do I make wheat free bread less dense?
Dense gluten free bread is typically the result of too little or no xanthan gum, or too litte moisture. Remember, there is no gluten in gf bread to give it structure, so it’s important that you use xanthan gum or an effective substitute to trap air bubbles and help produce a more airy bread.
Why did my gluten free bread sink while it was cooling?
The most common reasons for gluten free bread sinking after cooling include:
- Too much proofing; the bread rose higher than it could support itself. Raw gf bread dough tends to take on a pock-marked appearance when it’s overproofed, so watch carefully.
- Too much yeast; the bread rose too quickly and couldn’t support itself
- Too much liquid; steam couldn’t dissipate quickly enough
- A too-hot oven that baked the outside to burning long before the inside of the loaf was cooked through enough to support the structure.
Does gluten free bread need to be refrigerated?
No, gluten free loaf bread does not need to be refrigerated. And actually, you should avoid refrigerating as it will speed up the drying process.
Does homemade gluten free bread last as long as store-bought bread?
Many store-bought breads are loaded with preservatives to make them last longer than homemade baked goods.
As my bread recipes don’t contain preservatives, they won’t technically last as long as store-bought — but it’s typically not a problem in my house because bread gets gobbled up quickly.
Where can I find an easy gluten free bread recipe?
I’ve got a few of my best gluten free bread recipes above, but you can find more at my gluten free bread archive.
I consider most of my gf bread recipes to be easy gluten free bread recipes because I don’t use complicated ingredients or require specialized equipment. Even if you’re new to gf baking, I’m sure you’ll find these recipes simple enough (and I’d love to hear about how your bread turned out!
[These links contain affiliate codes that help me earn a small commission, at no additional cost to you. Every single product I recommend is one I truly believe in and, where appropriate, have purchased myself!]
Originally published on the blog in 2012. Lots of textual resources added in 2022.
The post The Best Gluten Free Bread: Top 10 Secrets To Getting It Right appeared first on Gluten Free on a Shoestring.


