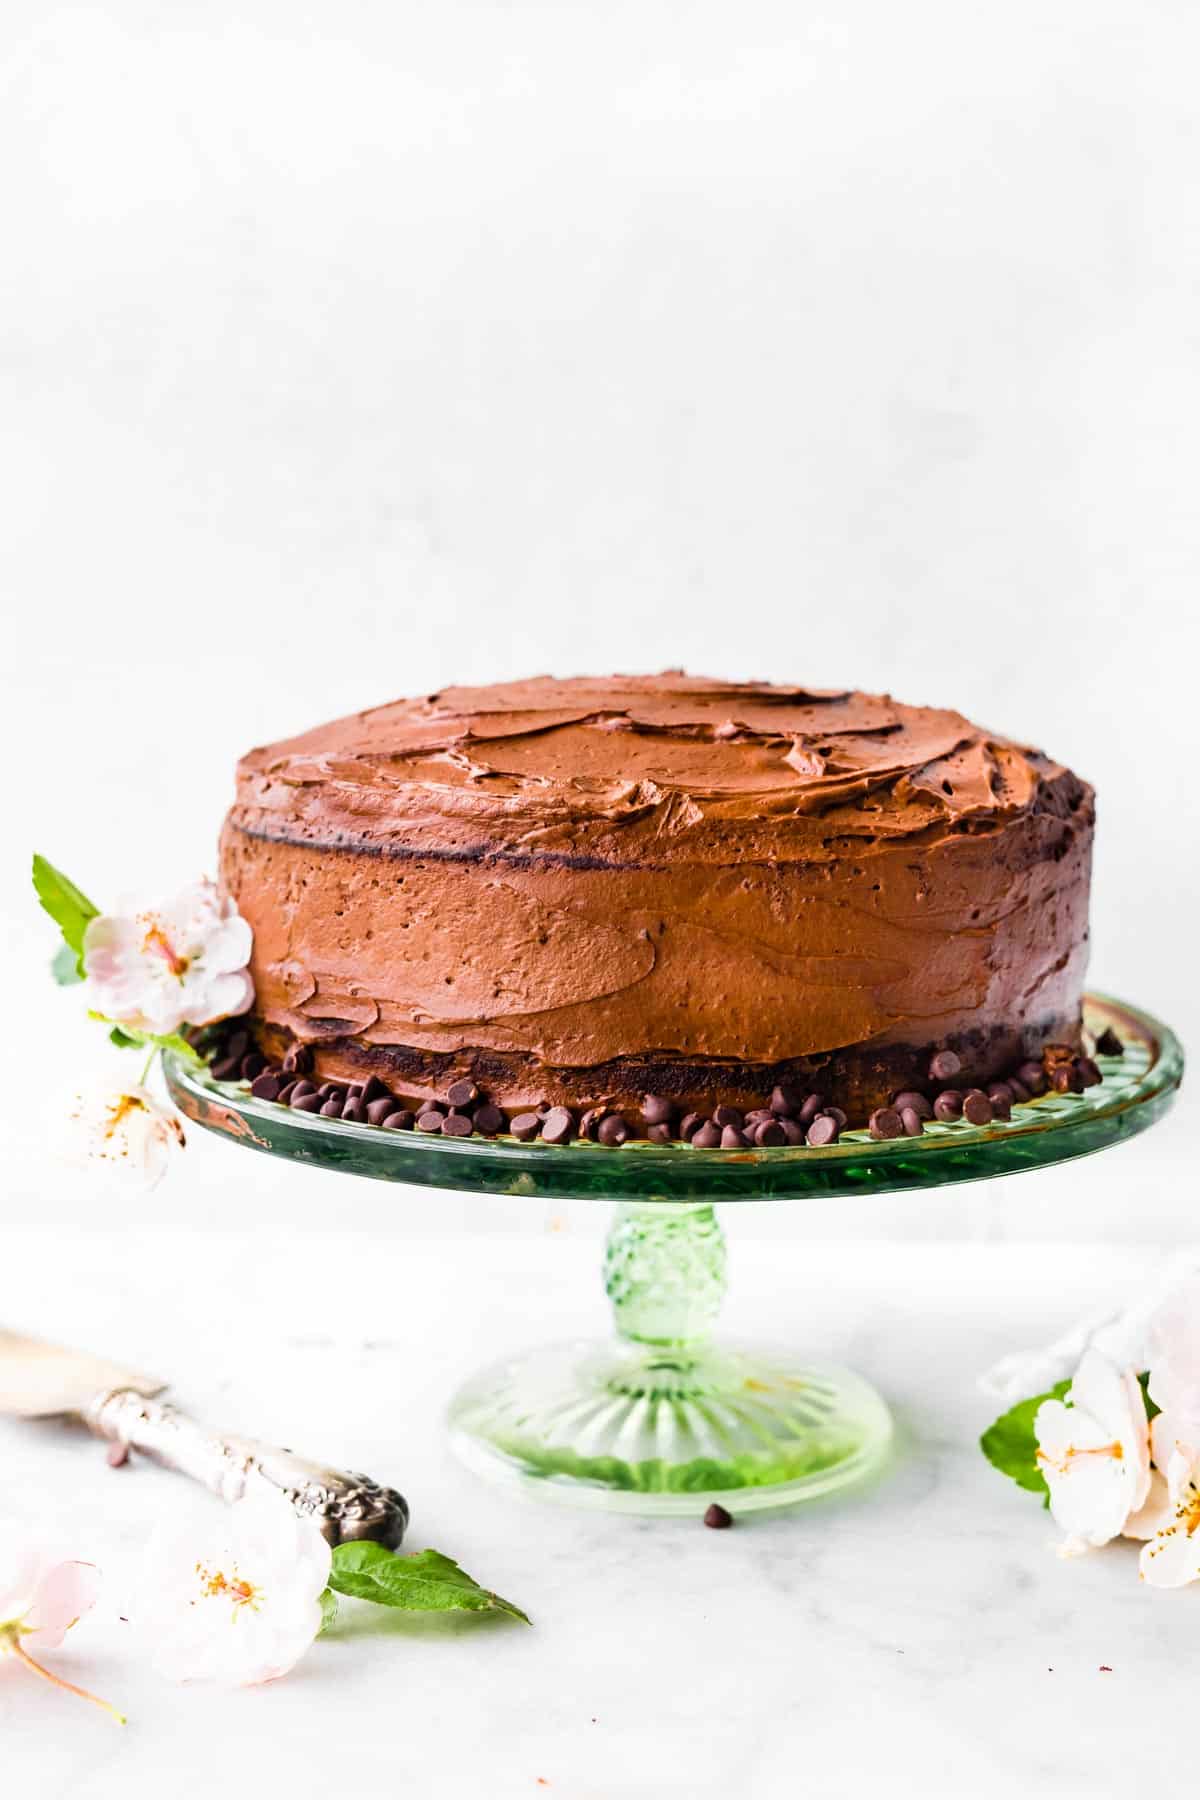
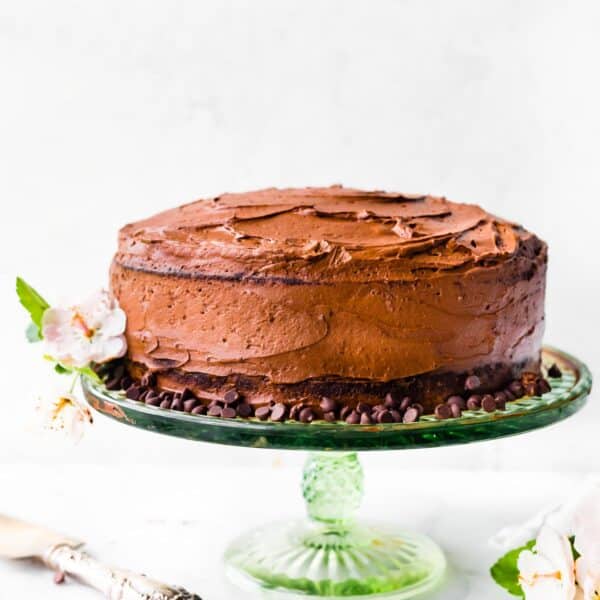
This easy Gluten Free Chocolate Cake recipe features simple, gluten-free, dairy-free ingredients for a rich, fudgy cake that’s so delicious, you’d never guess it’s allergy-friendly! Moist cake is topped with fluffy chocolate coconut whip frosting for a sweet dessert that’s perfect for birthdays, holiday parties, weekend get-togethers, and every occasion in between.
Have Your Cake, and Eat It, Too!
Let’s be honest for a second. Finding really good gluten-free recipes can sometimes feel impossible, but just because you or someone you know can’t eat gluten doesn’t mean we don’t all deserve to indulge every once in a while! So, instead of settling for a dry, crumbly store-bought cake, we decided to make our own with this easy gluten-free chocolate cake recipe!
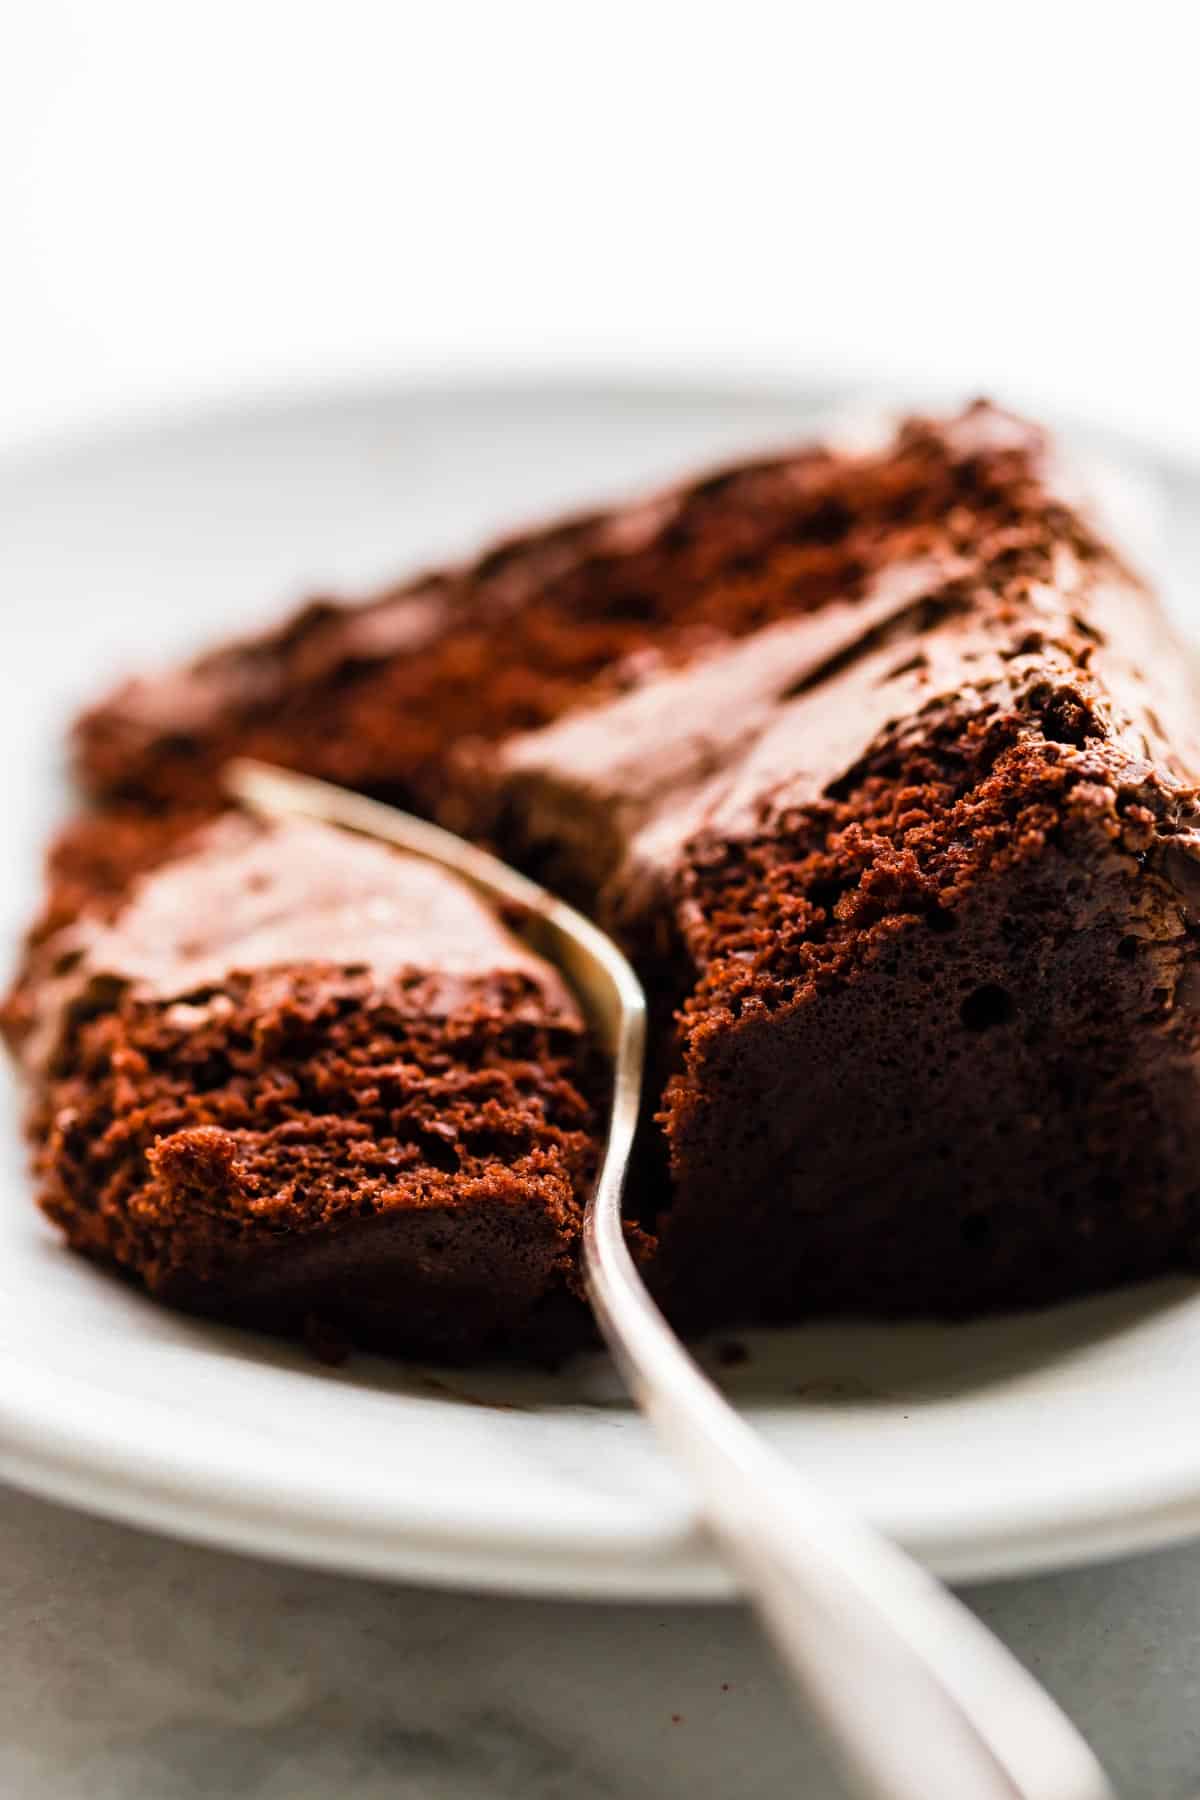
Simple to prepare, it’s soft, fluffy, and absolutely bursting with decadent chocolate flavor. Topped off with a creamy coconut whip icing, it’s guaranteed to have all your guests raving! In fact, it’s so good we’re willing to bet they won’t even realize it’s gluten-free. Feel free to mix and match different toppings to make it your own. No matter how you serve it, you really can’t go wrong.
Gluten-Free Ingredients You’ll Need
This gluten free chocolate cake recipe features all the typical ingredients you would expect to see in a cake just with a twist. The main ingredients are listed below, but be sure to scroll to the recipe card at the bottom to find everything you’ll need.
For the Cake
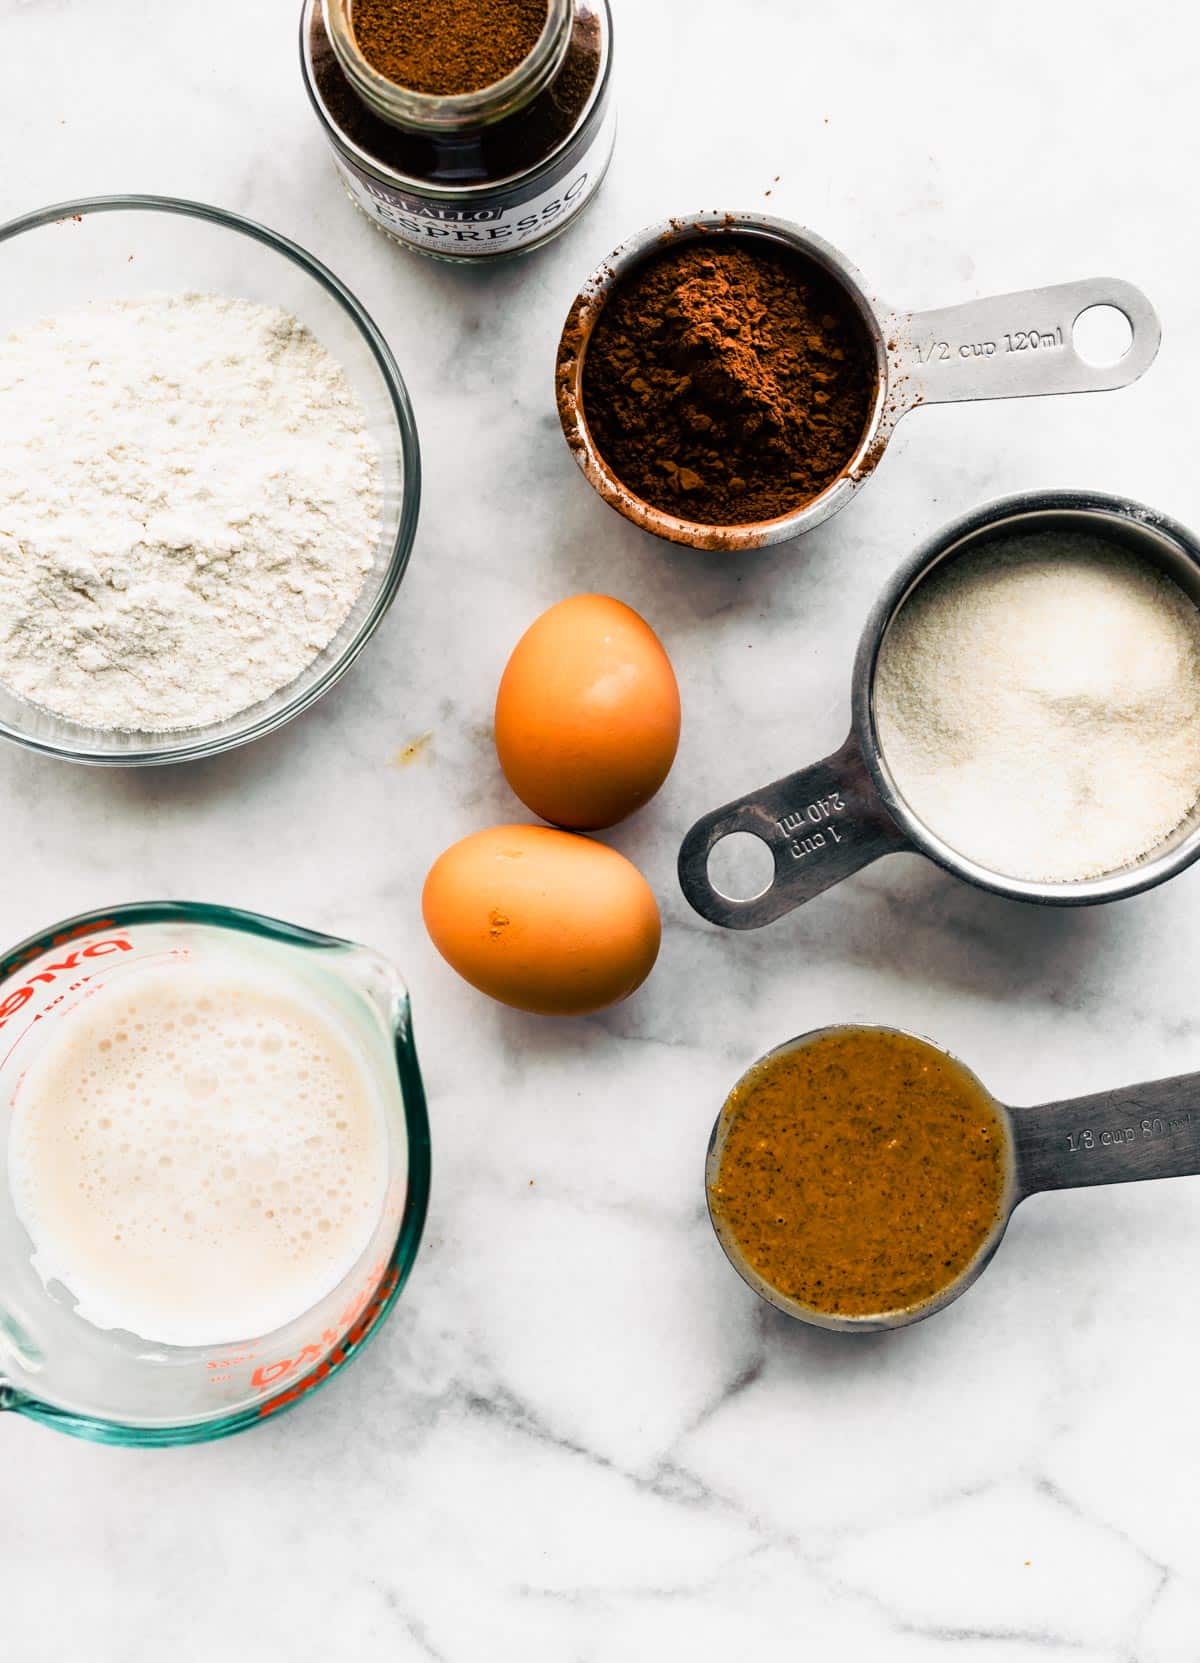
- Gluten Free Flour – We recommend using store-bought 1:1 gluten-free baking flour. Or, opt for a homemade gluten-free flour blend with xanthan gum.
- Sugar – Fine raw sugar or a sugar substitute is used to sweeten the batter.
- Unsweetened Cocoa Powder – Dutch cocoa powder adds the strong chocolate flavor we want in this recipe.
- Non-Dairy Milk – Any milk like almond milk, oat milk, cashew milk, etc. can be used.
- Almond Butter – This replaces the need for lots of butter while keeping the cake moist. Just make sure it’s creamy! Otherwise, your batter is likely to turn out lumpy.
- Eggs – For easy mixing and the best results, let them come to room temperature before beginning.
- Instant Coffee or Espresso – Technically optional but highly recommended, combining coffee or espresso with boiling water before adding it to the batter helps enhance the chocolate flavor. Opt for caffeine-free, if needed.
- Baking Essentials – Baking powder, baking soda, salt, and vanilla extract are included to enhance the flavor and help the cake rise.
For the Chocolate Frosting
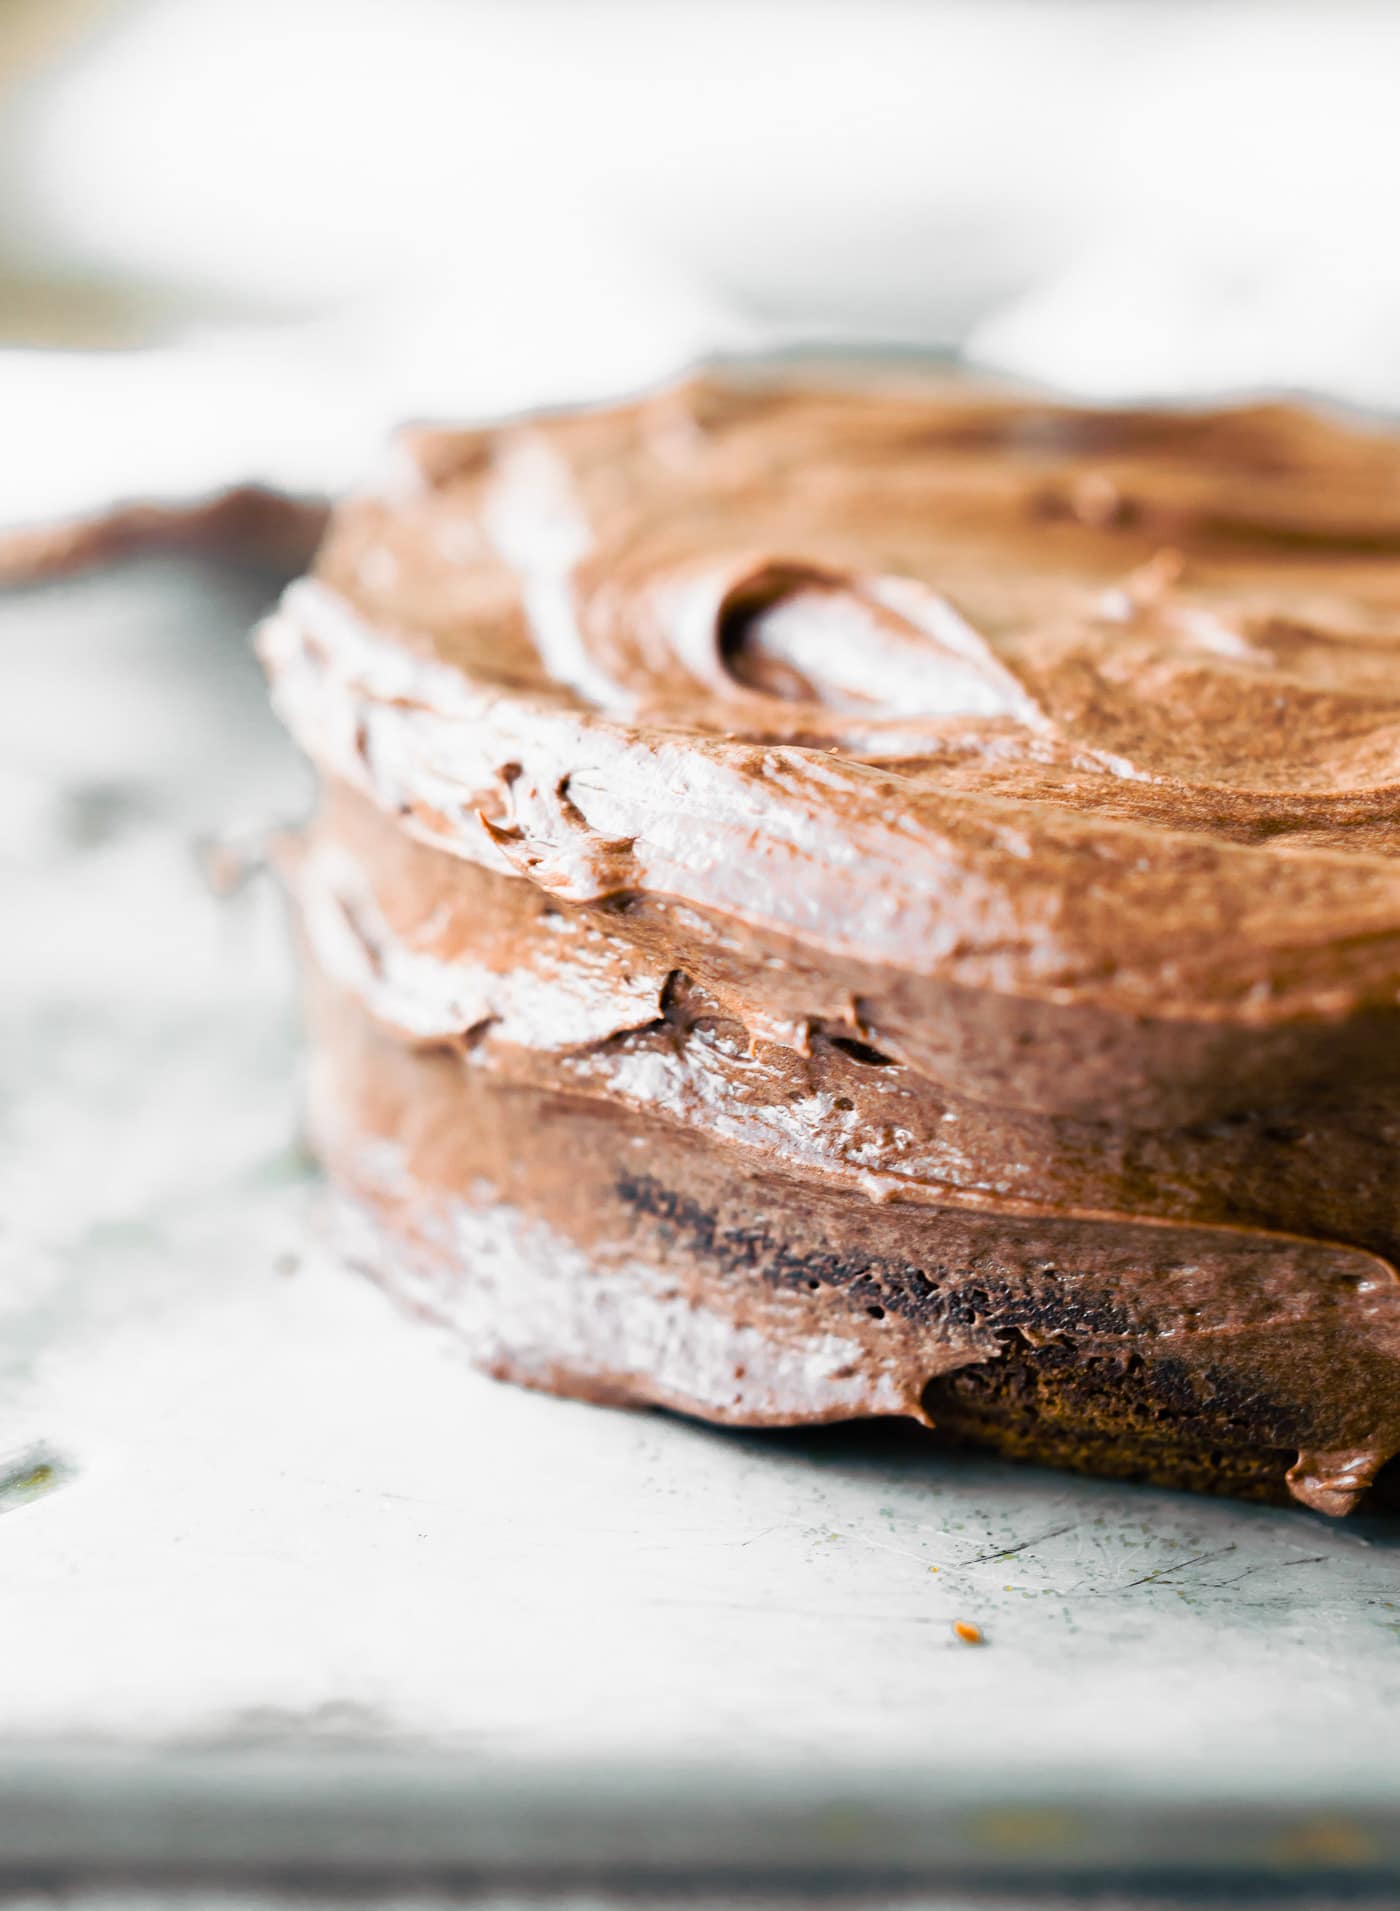
- Canned Coconut Cream – Use full-fat canned coconut, not liquid coconut milk.
- Maple Syrup – This is used to sweeten the frosting. Or, powdered sugar can be used, too. Just note that the consistency will be a little thicker.
- Dutch-Processed Cocoa Powder – Used to infuse chocolate goodness into the frosting.
How to Make This Gluten Free Chocolate Cake Recipe
We don’t call this the best gluten-free chocolate cake for nothing! Not only does it require minimal prep time, but it comes together quickly and tastes like a dream. Just follow the steps below, and it’s ready in no time!
For the Cake
- Prepare. Preheat the oven, and line or lightly oil two round cake pans or one large baking pan. If using cake pans, line them with parchment paper.
- Combine the Dry Ingredients. In a large mixing bowl or the bowl of a stand mixer, whisk the dry ingredients until they’re well combined.
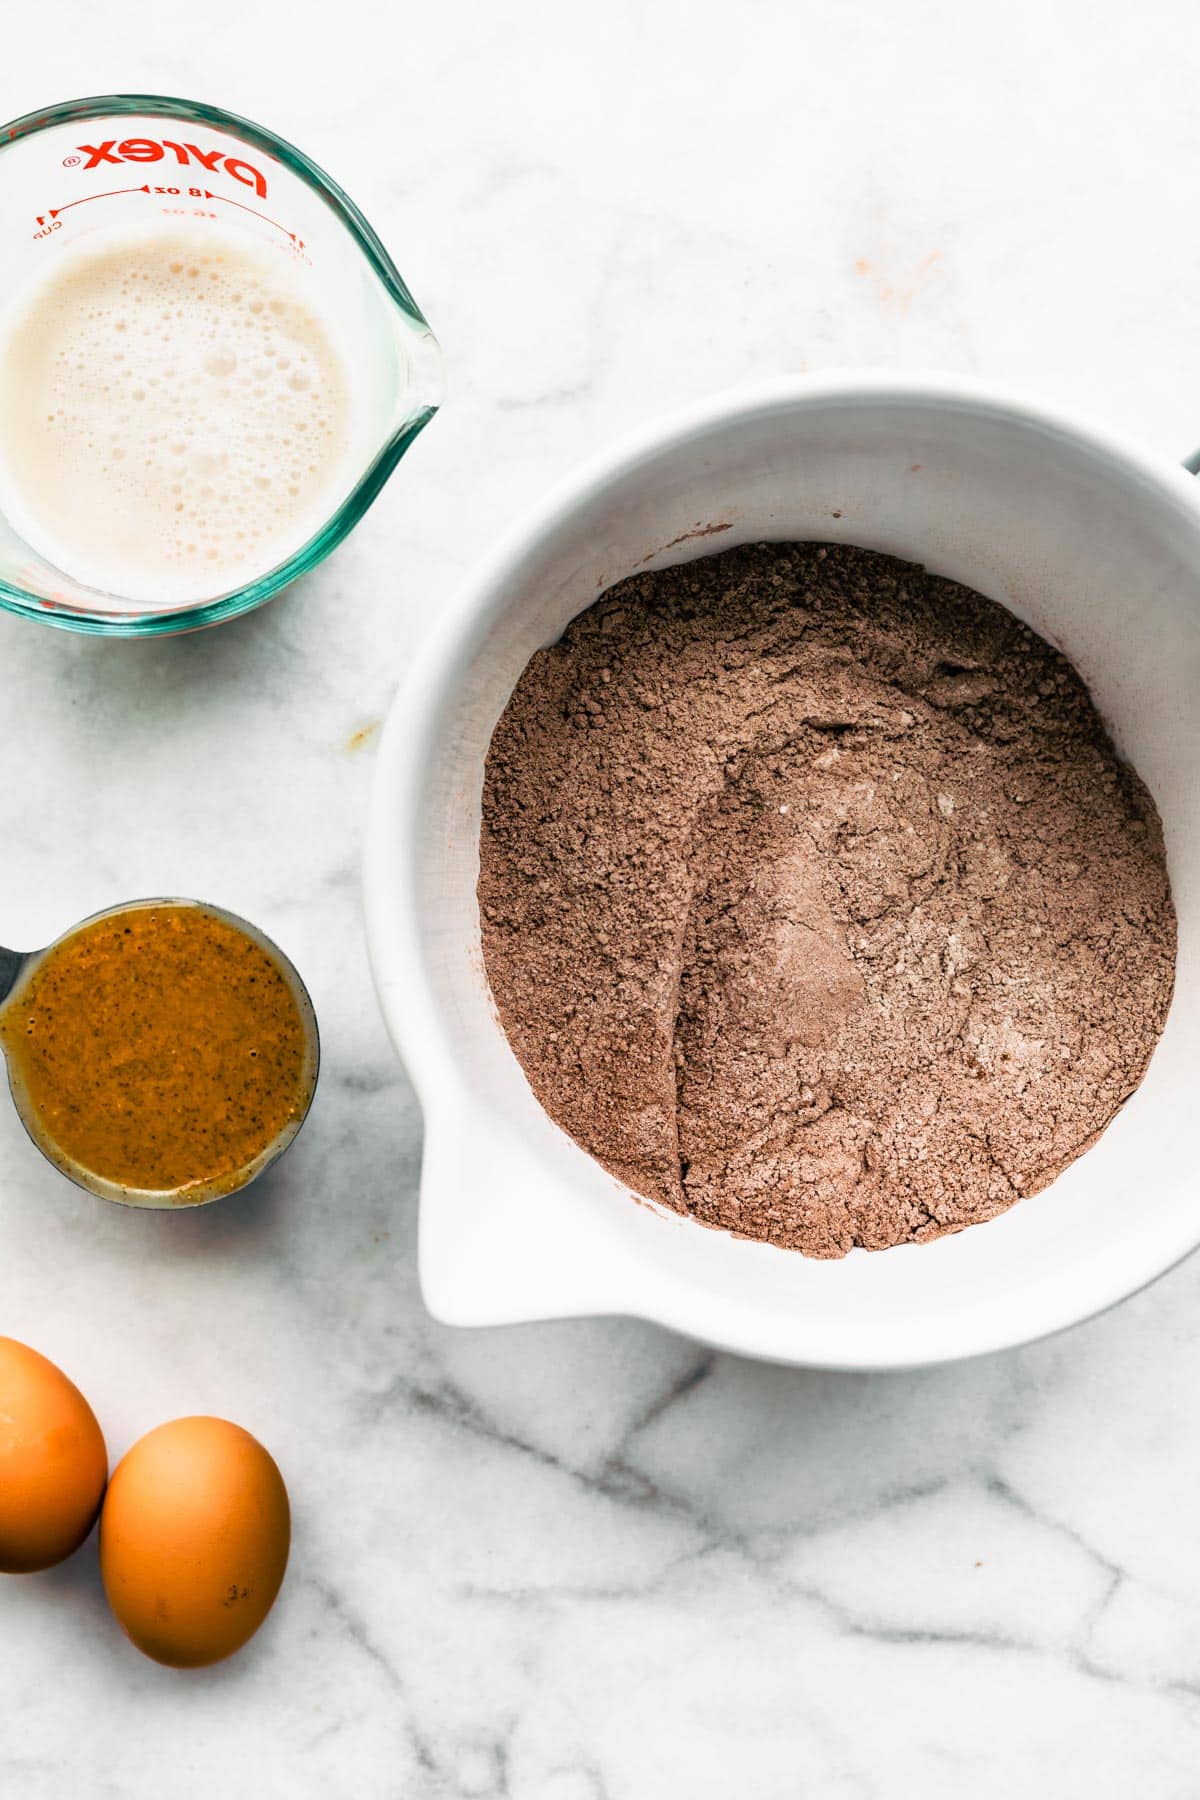
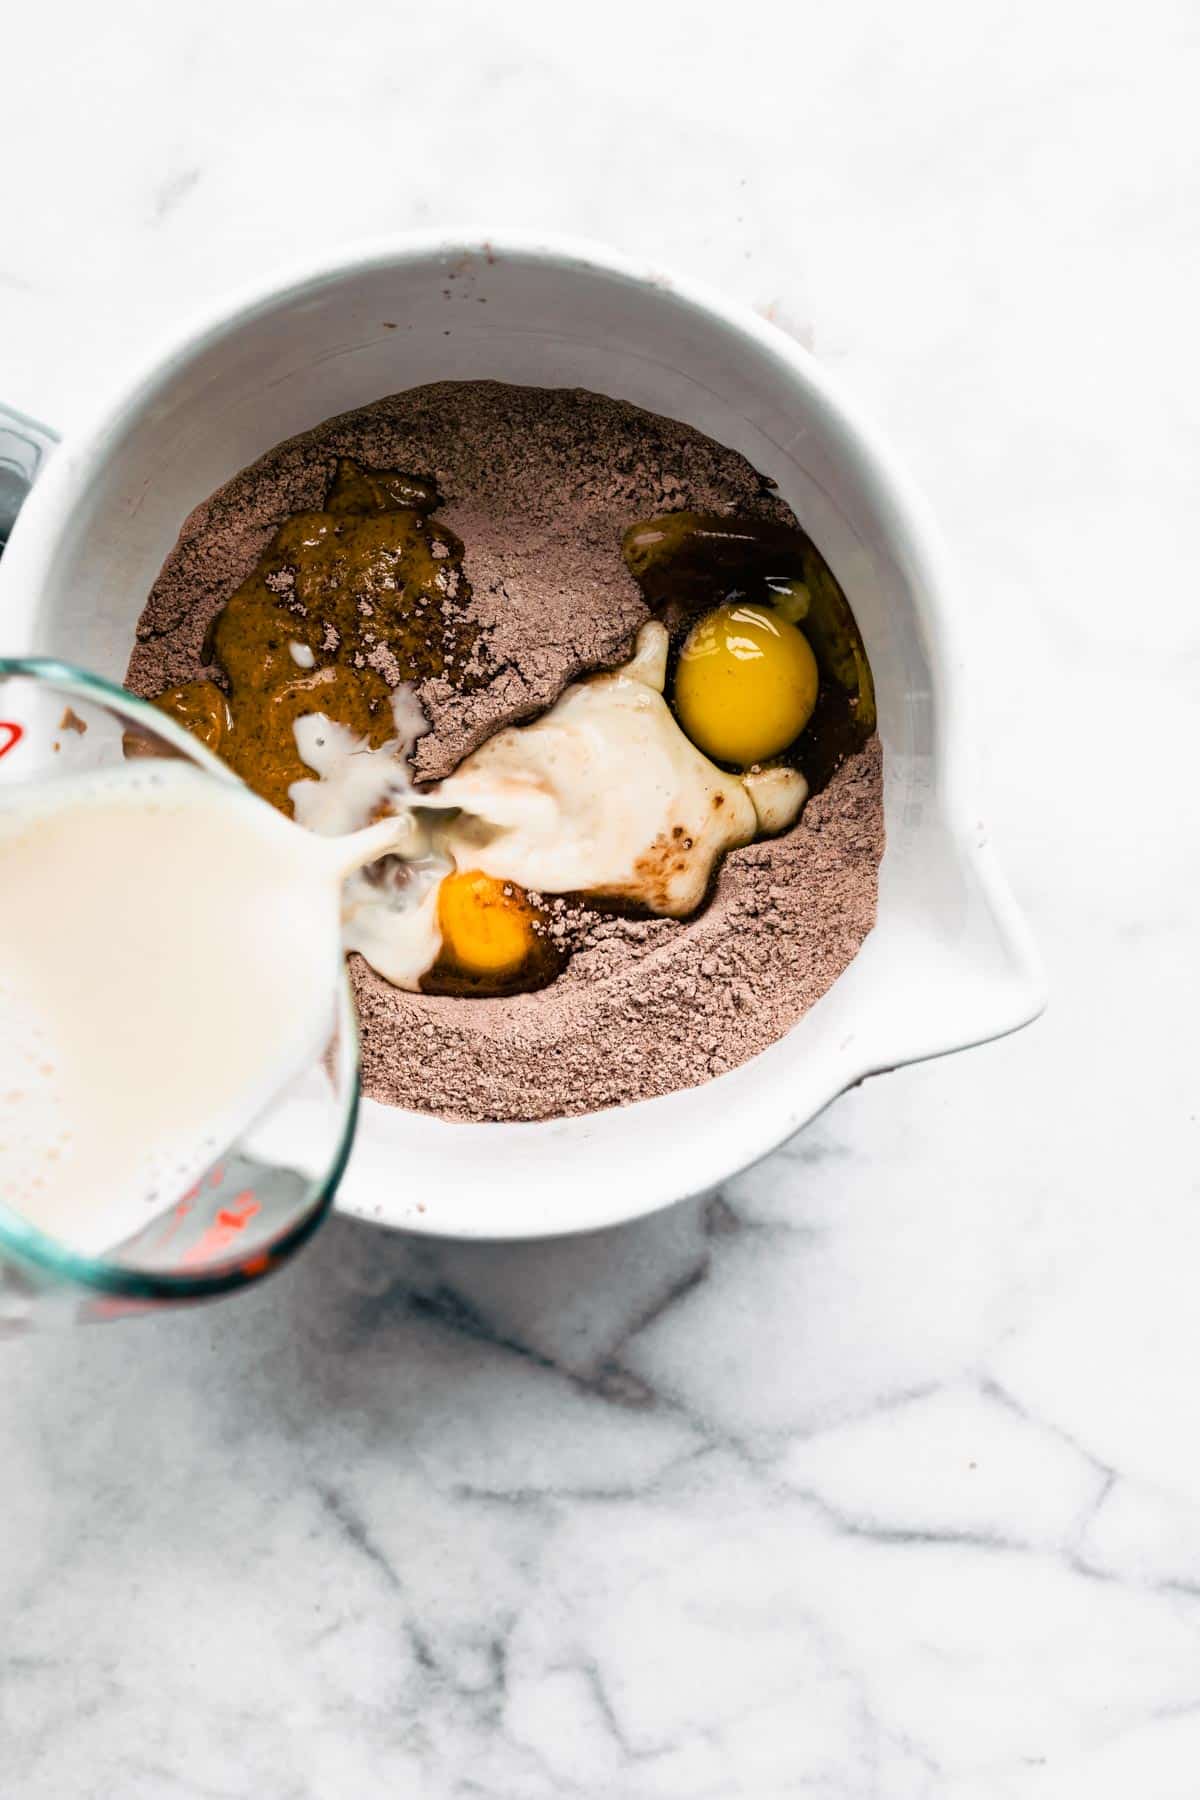
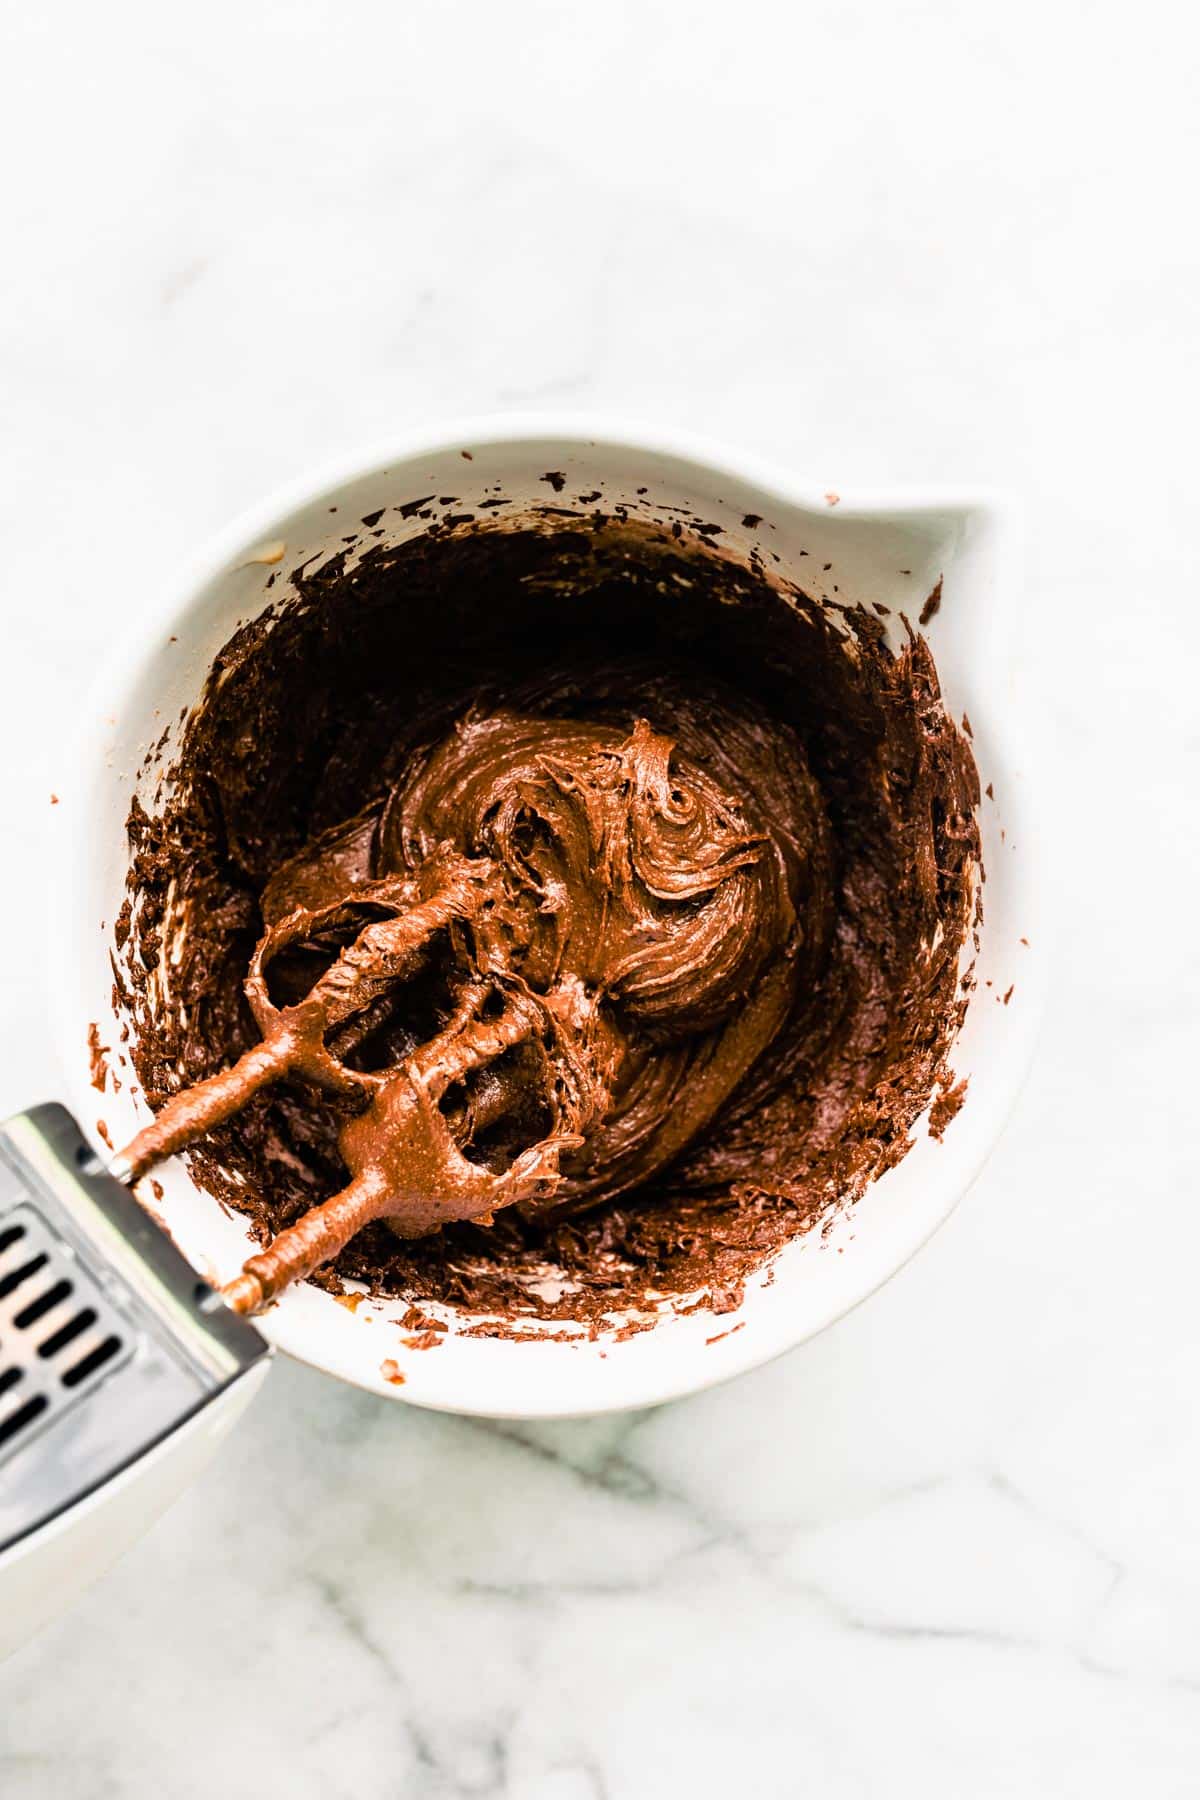
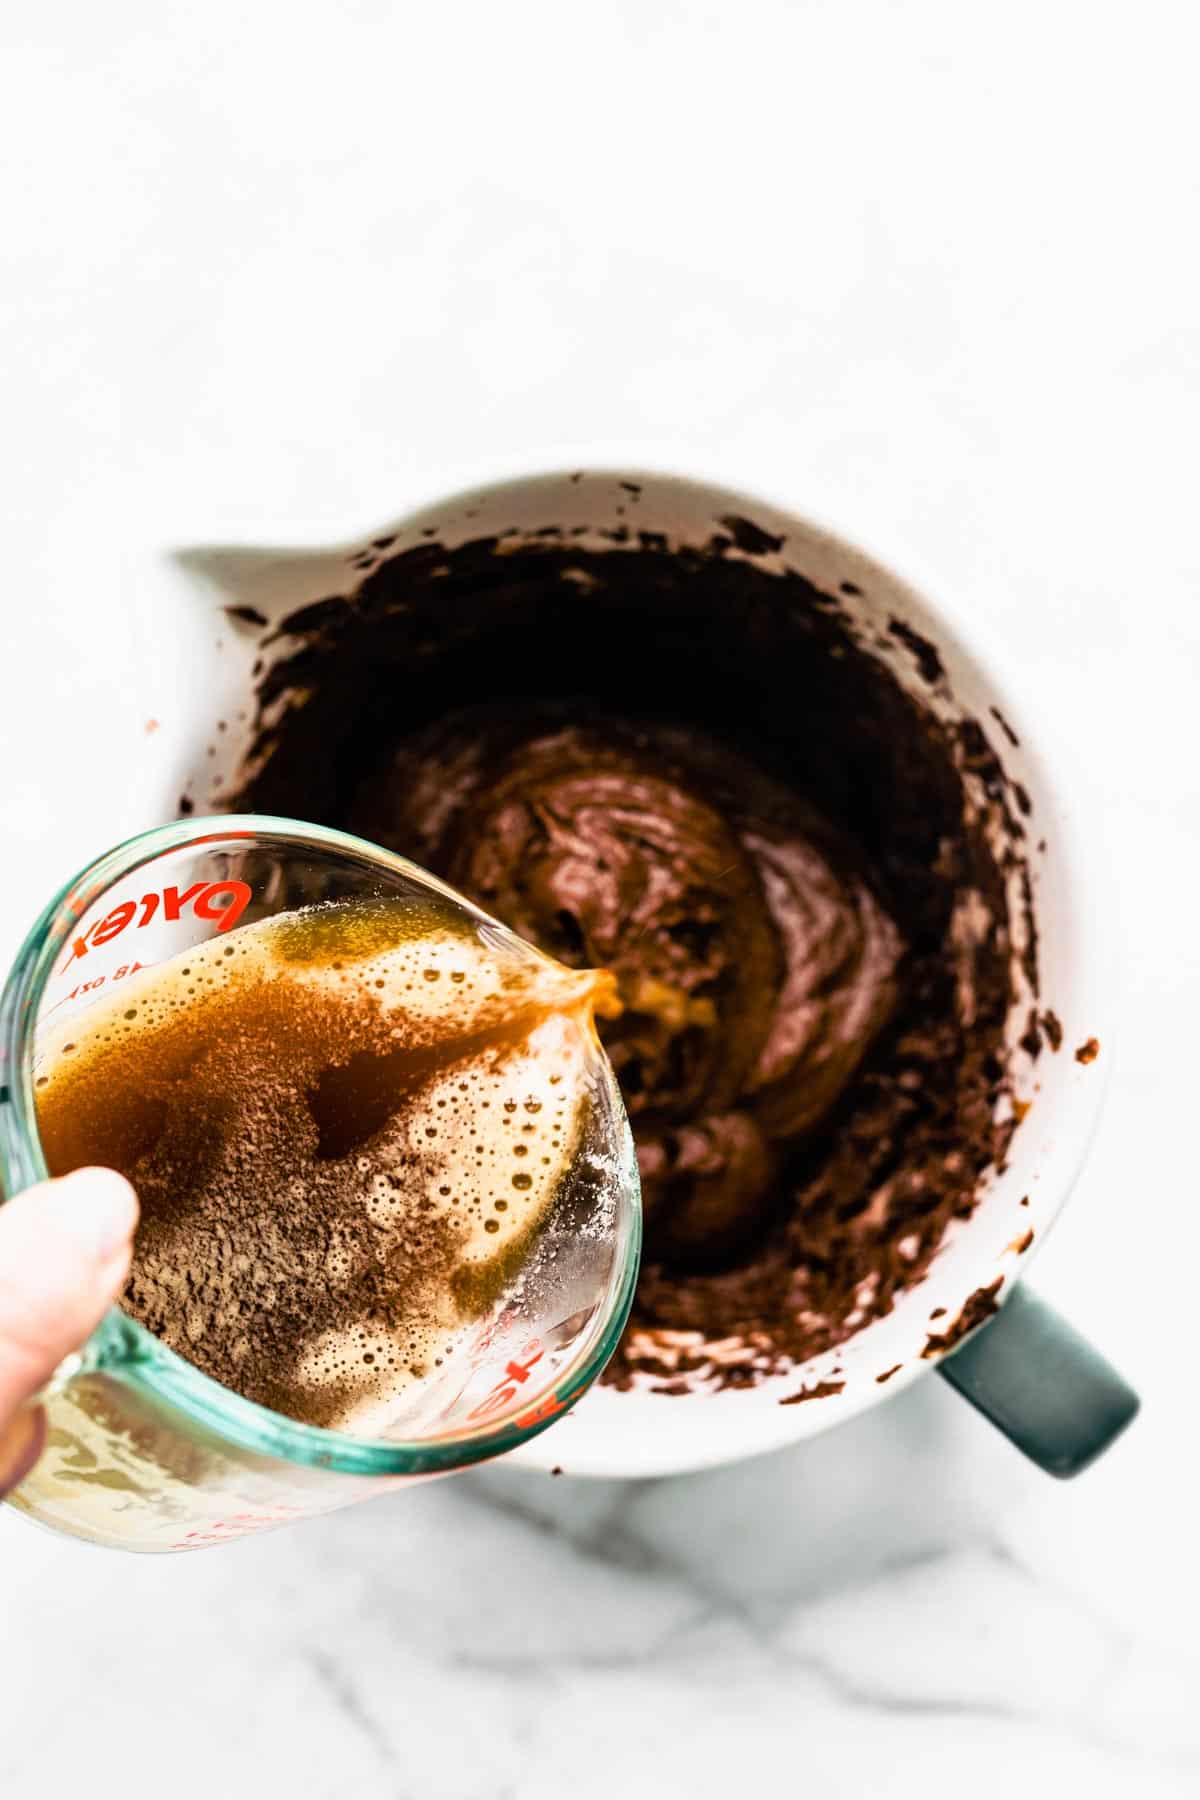
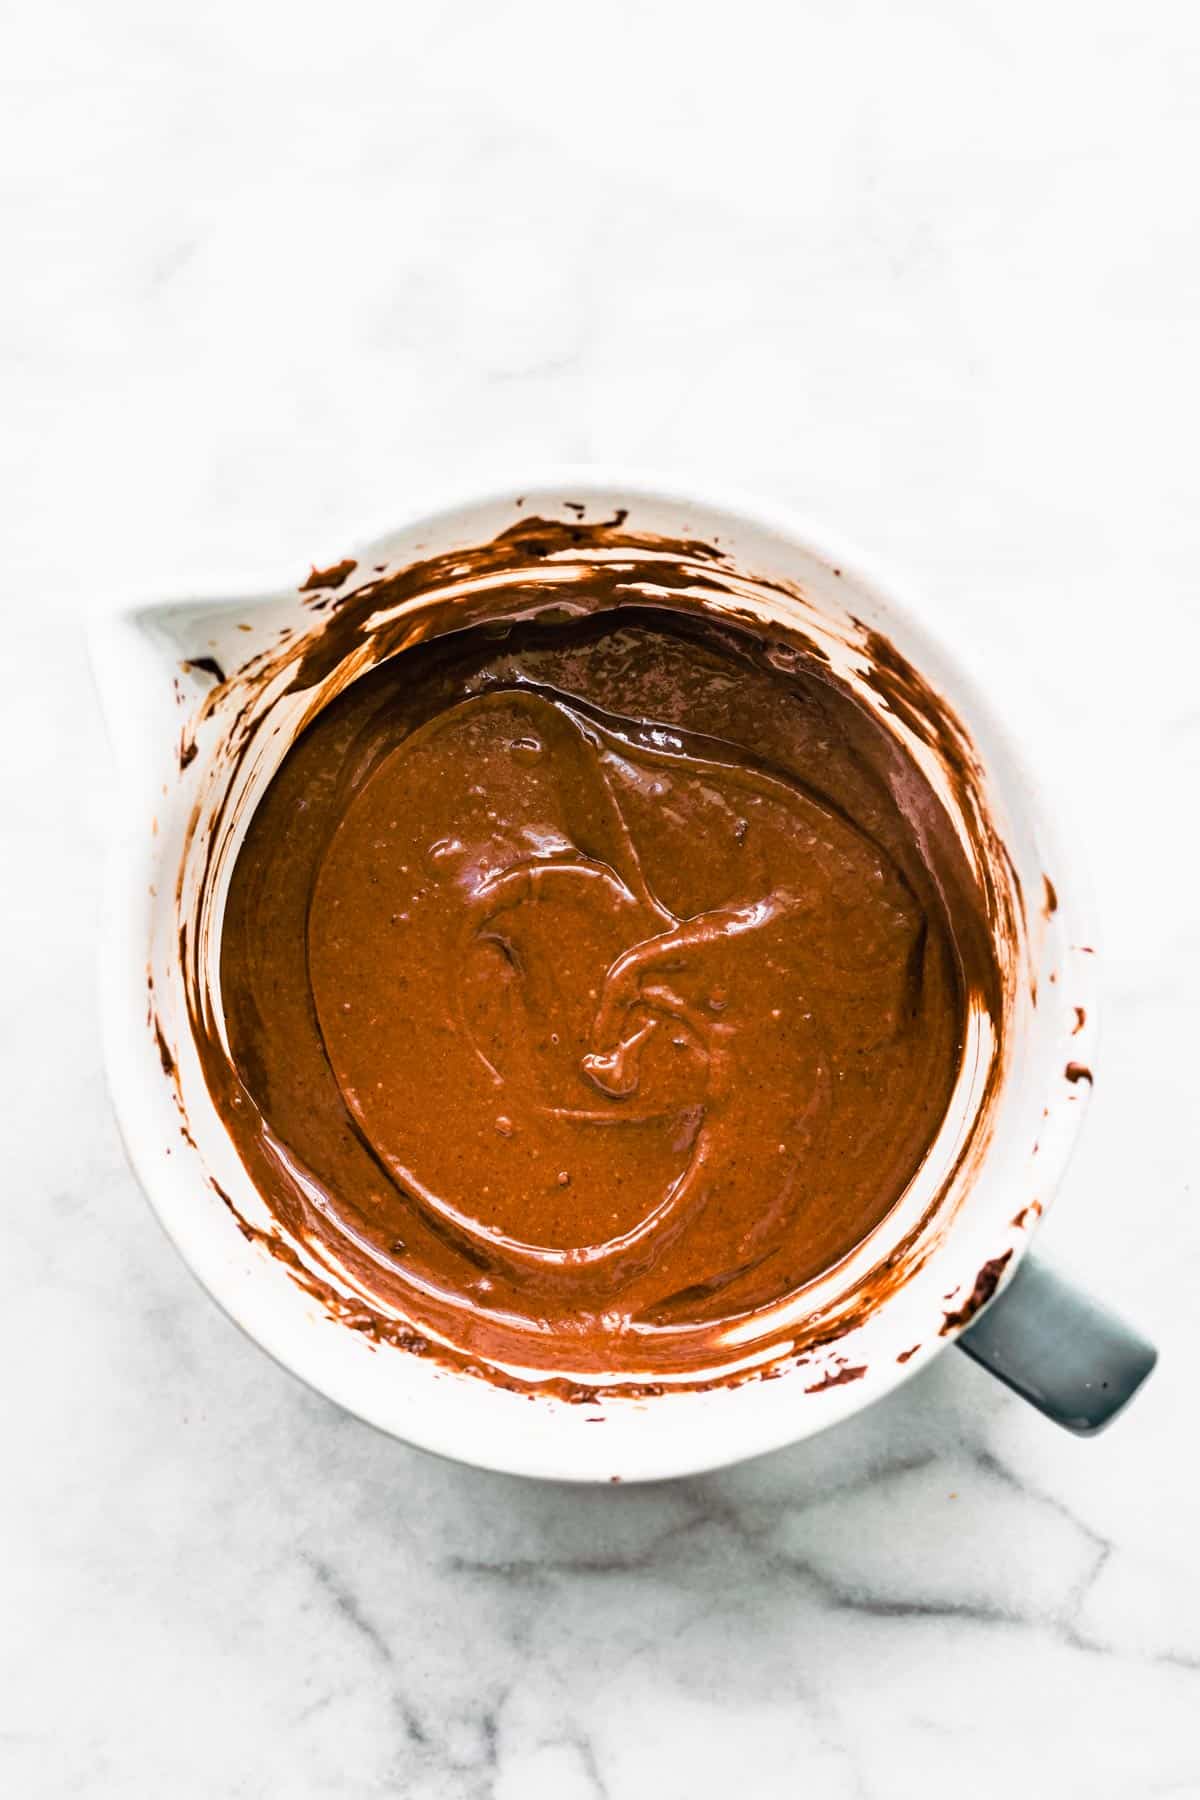
- Add the Wet Ingredients. Add the milk, almond butter, and vanilla. Mix with an electric mixer or stand mixer until the ingredients are smooth. The batter will be dry and clumpy at this point. That’s okay! Simply, increase the speed, and continue to mix until smooth. Then, add the eggs, mixing until combined. Finally, add the boiling water with coffee or espresso, and whisk just until there are no clumps.
Note: At this point, the batter will be very thin. So, be careful not to overmix!
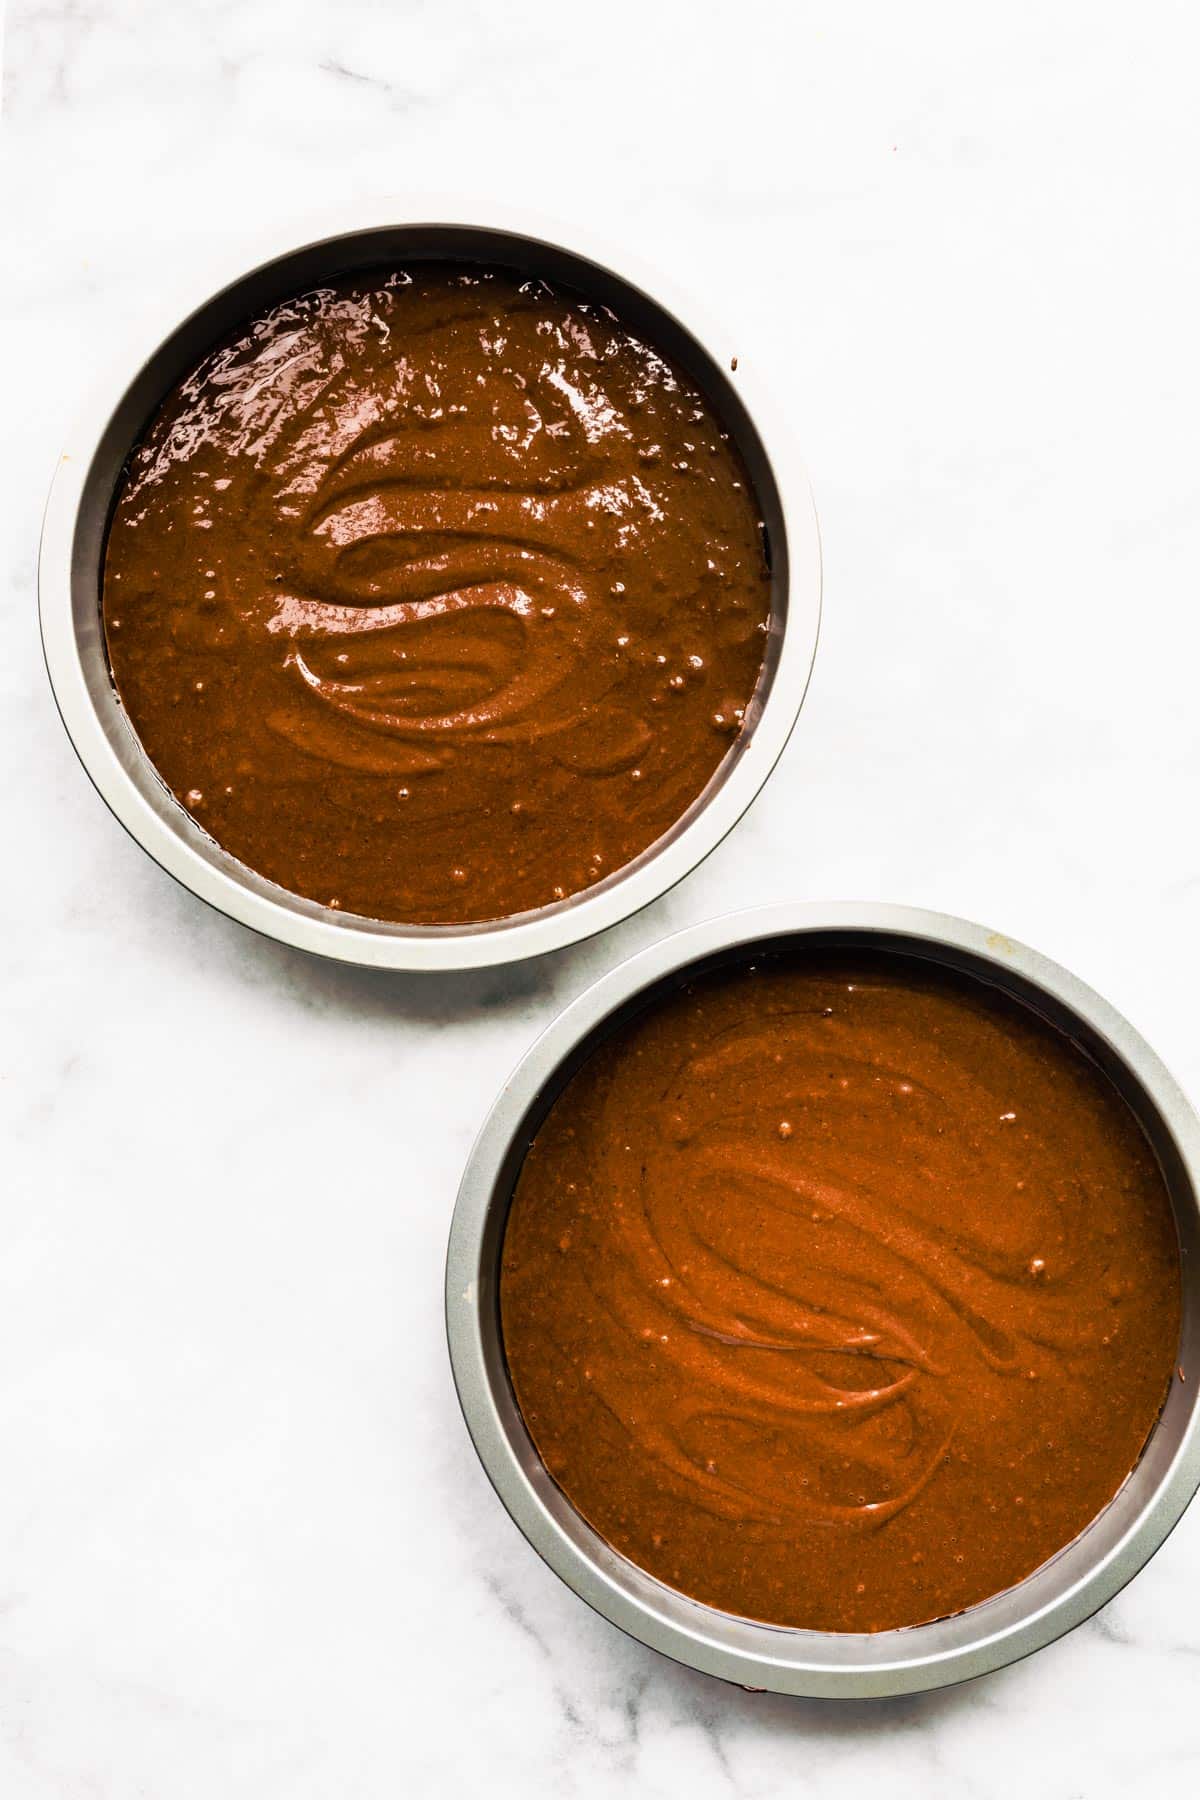
- Bake. Pour the batter into the prepared pan or pans, and bake until a toothpick can be inserted into the center and comes out clean. Keep a close eye on the oven! The baking times will vary slightly based on the type of pan and size used.
- Cool. Set the cake on a wire rack until the pan is cool enough to handle. Then, remove the cake from the pan, and let it cool on the wire rack completely.
Pro-Tip: If making a layer cake, chill the layers in the freezer before assembling the frosting. This will minimize crumbling, making the layers easier to frost. See below for layer cake instructions.
For the Frosting
- Chill. Before you begin, place the coconut cream to chill in the back of the fridge to harden.
- Mix. Being careful not to shake the can, remove the thickened cream at the top, and transfer it to a stand mixer or a large bowl. Discard the water portion.
- Combine. Add the sweetener and vanilla, and whip on high until it is has a light and fluffy texture. Add the cocoa to the mixture, and whip again.
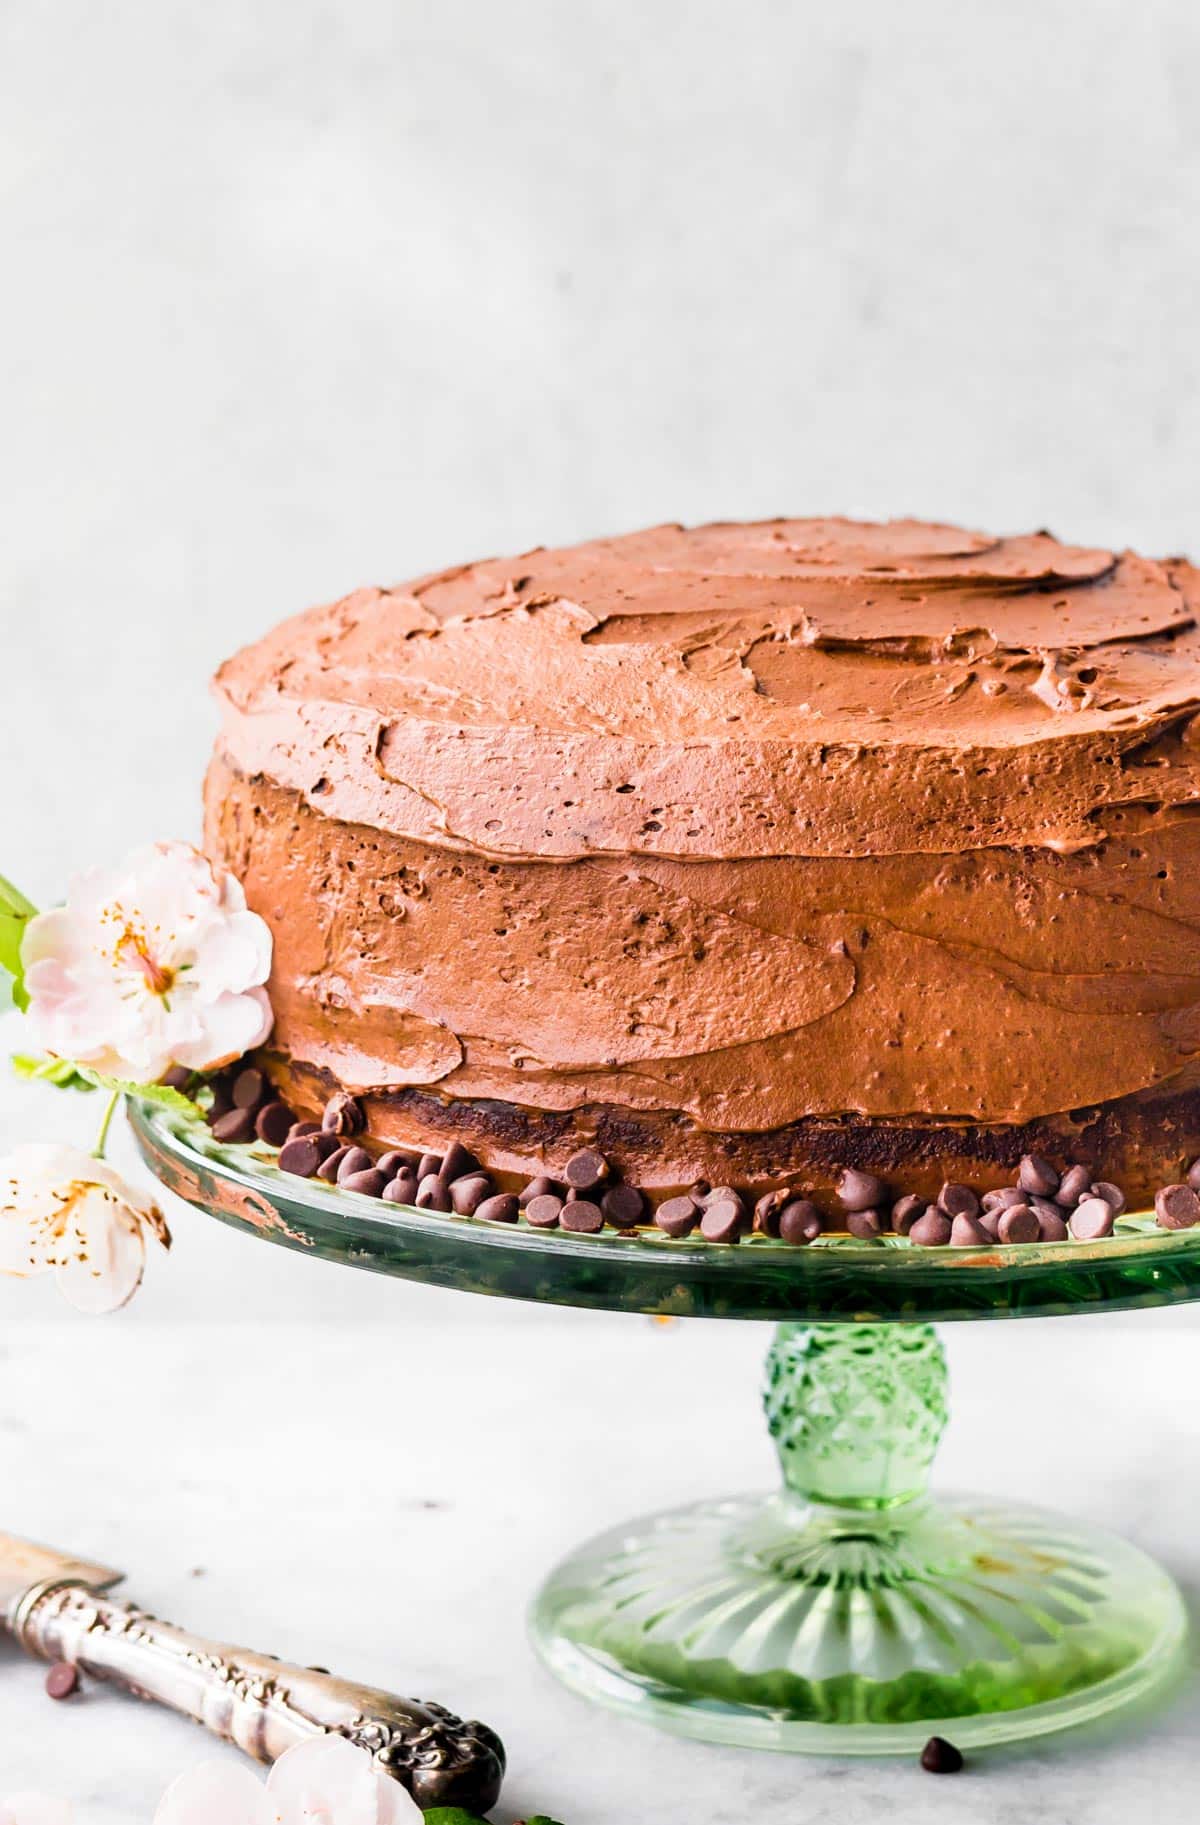
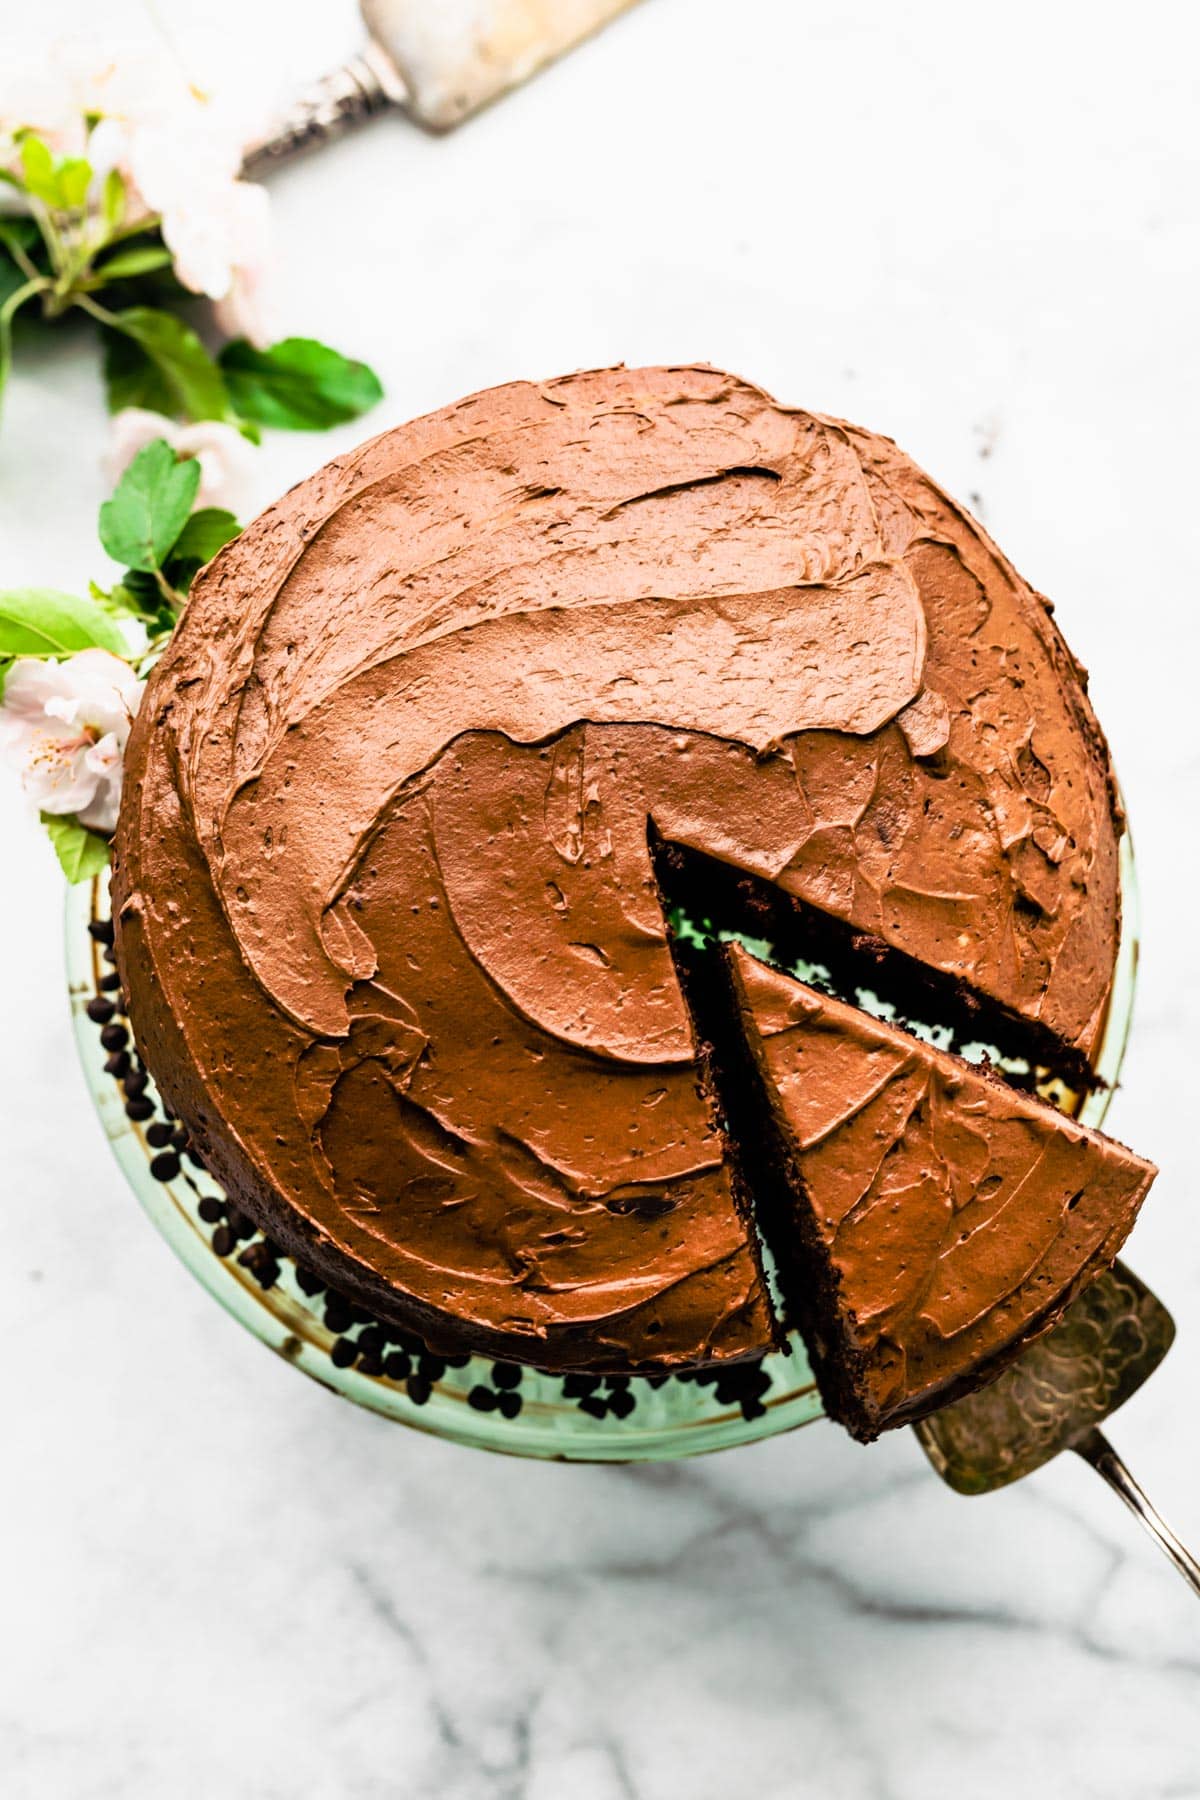
- Frost. Once the cake has cooled, frost it, and enjoy!
How to Make a Layer Cake
If you baked your gluten free chocolate cake in a regular pan instead of a cake pan and you want to make a layer cake instead, we’ve got you covered. Here’s what to do!
- If the cake is uneven, use a sharp serrated knife to level it off.
- Place the bottom layer on a cake stand or a large serving plate. Spread 1 cup of the frosting evenly on top.
- Gently place the second cake on top of the frosting.
- Spread the remaining frosting on top, spreading it down the sides as well.
- Place the cake in the fridge to chill before slicing and serving, and enjoy!
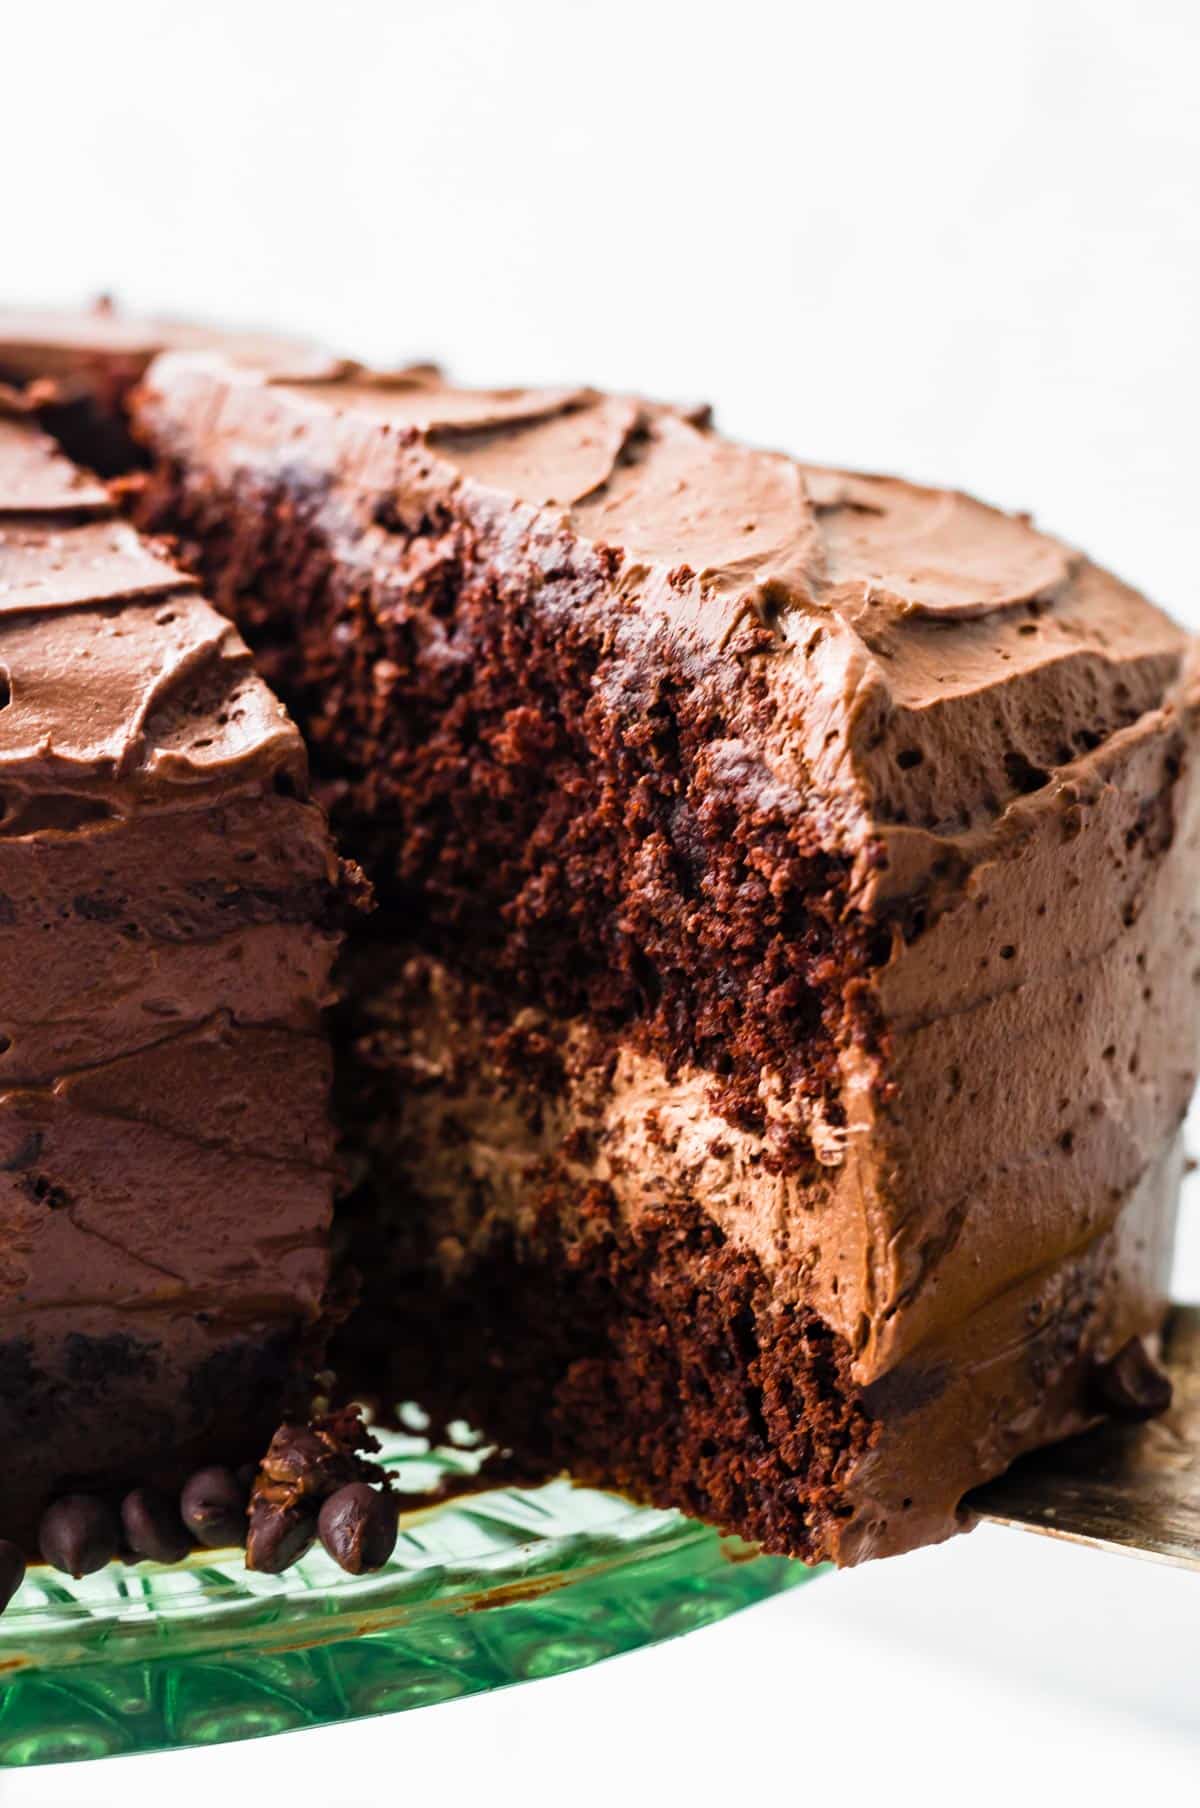
Pro-Tip: An icing spatula works best for spreading the frosting evenly. Or, a warm spatula can be used as well.
Frosting Options
We love our coconut whip frosting for cakes, brownies, cookies, and more. But, if you don’t want to make your own, no worries! Use a store-bought gluten-free vanilla icing, chocolate buttercream icing, chocolate ganache, Cool Whip, or even powdered sugar instead.
Storage Tips
If you’re planning on making this gluten free chocolate cake ahead of time, we recommend leaving it unfrosted. Wrapped tightly in plastic wrap or placed in an airtight container, it will stay fresh at room temperature for up to 2 days.
Or, wrap leftovers (preferably unfrosted) with plastic wrap, and place them in the freezer for up to 3 months. To serve, let it thaw at room temperature, frost, and enjoy!
Common Questions About Gluten-Free Chocolate Cake
We haven’t tested it, but we think it should work! Just fill a cupcake tin ¾ of the way full, and adjust the baking time as needed. Or, make our gluten-free chocolate cupcakes instead.
Fat included in the batter keeps gluten-free cake moist. In this recipe, we use almond butter to create a rich flavor, too.
No, unless specifically marked as being gluten-free, most standard cake mixes are made with all-purpose flour, meaning they contain high amounts of gluten.
We haven’t tested it, but do not recommend replacing the eggs in this recipe. That being said, we plan on testing a vegan option soon! So stay tuned!
Using too much baking powder will cause the cake batter to rise too quickly and crack. Be sure to measure carefully!
The most common reasons cakes sink include underbaking and using too much baking soda.
More of Our Favorite
Gluten-Free Desserts
If you enjoy this gluten free chocolate cake, you won’t want to miss out on more of our staple gluten-free dessert recipes below!
Gluten Free Chocolate Cake Recipe
- Author: Lindsay Cotter
-
 Total Time: 42-50 minutes
 -
 Yield: 9 to 12 slices
 - Diet: Gluten Free
Description
Make this easy dairy free, gluten free chocolate cake recipe with chocolate frosting for all your special occasions!
Ingredients
- 1 ¾ cups (250 to 260 g) gluten free 1:1 baking flour with xanthan gum (see notes).
- 1 cup raw sugar (grind into a finer texture) or sugar substitute
- ½ cup (50 g) Dutch cocoa powder
- 1 ½ teaspoons baking powder
- 1 ½ teaspoons baking soda
- ½ teaspoon kosher salt
- ¾ cup (190 ml) non-dairy milk
- ⅓ cup (90 g) creamy almond butter
- 1 teaspoon pure vanilla extract
- 2 large eggs, room temperature
- 1 cup boiling water mixed with 2 teaspoons instant coffee or espresso (optional)
Chocolate Coconut Whip Cream Frosting
- 2 (13.6 ounce) cans coconut cream, chilled in the fridge overnight*
- ¼ to ⅓ cup maple syrup or ½ cup to ⅔ cup powdered sugar (for thicker frosting)
- 1 teaspoon pure vanilla extract
- 4 Tablespoons Dutch cocoa powder
- 1 to 2 Tablespoons arrowroot starch, as needed for desired thickness
Instructions
Before you begin– If making the frosting, place the canned coconut cream in the back of the fridge to chill and solidify for 12-14 hours
For the Cake
- Preheat the oven to 350°F (175°C). Line or lightly oil two 8-inch round cake pans or one 9″ x 13″ pan (for one layer cake) and set it aside. Line the base of the 8-inch pans with parchment paper, skip this step if baking in a 9×13 pan.
- In a large mixing bowl or bowl of a stand mixer, combine the gluten free flour, sugar, cocoa powder, baking powder, baking soda, and salt. Whisk to combine. Add the non-dairy milk, almond butter, and vanilla extract to the bowl of the dry ingredients.
- With an electric mixer or stand mixer (with whisk attachment) mix on low-medium speed until ingredients are combined. The batter will be dry and clumpy.
- Turn the speed up to medium and mix an additional 1 to 2 minutes until the batter is smooth.
- Add the eggs and mix until combined. Add the boiling water with optional instant coffee/espresso and whisk until there are no clumps. The batter will be very thin.
- Pour the batter evenly into the 2 prepared cake pans and place in the preheated oven for 22 to 25 or until a wooden toothpick comes out clean. See notes for baking times and types of pans.
- Cool the cake on a wire rack until the pan is cool enough to handle. Remove the cake from the pan and place on the wire rack. If layering the cake, chill the cake layers in the freezer for about 10 to 15 minutes before assembling and frosting the cake. This will minimize crumbing and will be easier to frost.
- If frosting the 9×13 cake, completely cool on a wire rack or place in the fridge to chill before frosting.
- Store the frosted cake in the fridge for up to 5 days. See notes for more storage options.
Frosting
- Place the canned coconut cream in the fridge for 12 to 24 hours to harden (best to do a couple days before).
- Remove the canned coconut cream from the fridge, careful not to shake the can. Remove the thickened coconut cream (top portion) and place into a stand mixer bowl or mixing bowl. Discard the coconut water portion.
- Add sweetener of choice and vanilla. Place the stand mixer (or handheld mixer) on high, and whip until the cream is light and fluffy.
- Add the cocoa powder and whip again until combined and fluffy.
- If the frosting isn’t firming up as desired, add 1 to 2 Tablespoons arrowroot starch, and whip to desired thickness.
- Store in an airtight container in the fridge for 4-5 days.
Layering Cakes
- If necessary, level the top of the baked cake with a sharp serrated knife.
- Place the bottom cake on a cake stand or large serving plate. Spread 1 cup of frosting evenly on top. Gently place the second cake on top of the frosting.
- Spread the remaining frosting on top and all around the sides using an icing spatula or warm spatula if you don’t have an icing spatula. The warm spatula helps distribute the frosting more smoothly.
- Place the cake in the fridge for a couple hours before serving and slicing.
Notes
Baking Tips – Baking times vary depending on the type of pan used. 8-inch round pans and a 9×13 pans will bake faster (22 to 25 minutes). If using a gluten free flour blend that does not contain xanthan or guar gum, add 1 teaspoon xanthan gum to the dry batter before mixing with the wet ingredients. The hot water (with or without espresso powder) is to activate the cocoa powder.
Storage Tips – Unfrosted cakes are best stored in the fridge for freshness but can be left at room temperature for up to 2 days, wrapped tightly in plastic wrap or in an airtight container. If not serving/frosting cakes within 2 days, tightly wrap the cakes to prevent freezer burn, and place in the freezer for up to 3 months. It’s best to freeze a whole cake without frosting or filling, then defrost at room temperature, frost and serve as fresh.
-
 Prep Time: 10 minutes
-
 Rest/Chill Time: if applicable 10 minutes to cool before frosting
-
 Cook Time: 22 to 30 minutes depending on type of pan
-
 Category: Dessert
-
 Method: Oven
-
 Cuisine: American
Nutrition
- Serving Size: 1 slice with chocolate frosting
- Calories: 351
- Sugar: 22.4 g
- Sodium: 258.8 mg
- Fat: 17.4 g
- Saturated Fat: 11.1 g
- Carbohydrates: 48.7 g
- Fiber: 3.9 g
- Protein: 6.3 g
- Cholesterol: 33.8 mg
Keywords: gluten free chocolate cake, gluten free chocolate cake recipe, gluten free cake, chocolate cake

Do you have questions, feedback, or tips about this recipe? Leave a comment below with any questions or feedback you’d like to share!

