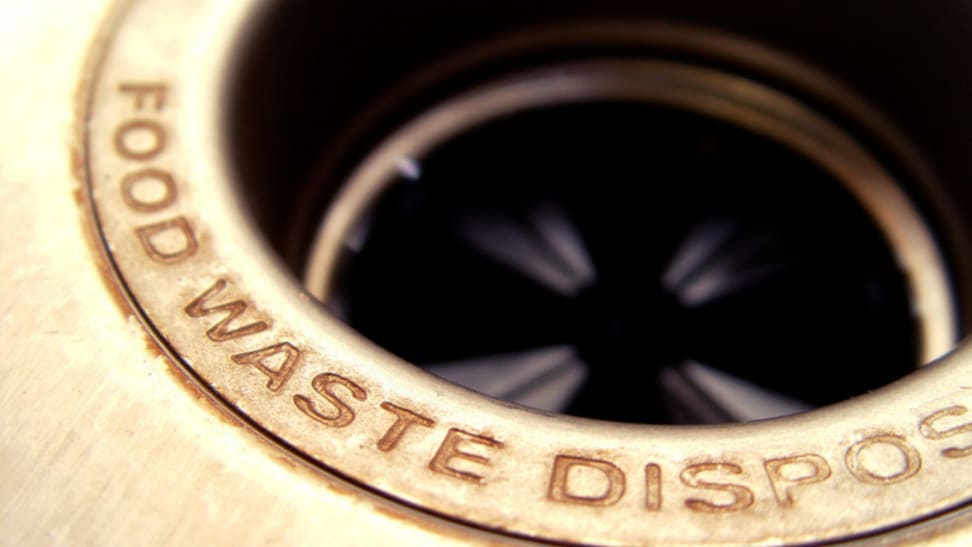
 — Recommendations are independently chosen by Reviewed’s editors. Purchases you make through our links may earn us a commission.
There’s nothing worse than walking into your kitchen and catching a whiff of something rancid. You might wonder where the smell is coming from, knowing that you have already taken out the trash and washed the dishes. Perhaps it’s your dishwasher? But, the truth is, it may be coming from a place you rarely think to clean: your garbage disposal.
Damp, dark, and constantly harboring bits of old and forgotten food, your garbage disposal is the perfect environment to grow all kinds of disgusting, smelly bacteria. Bacteria that then stinks up the same area where you prepare and eat your food.
The question that remains: How should you clean a garbage disposal? Wanting to know the best tried-and-true methods directly from the professionals themselves, I reached out to the Plumbing Contractors of Greater Chicago and spoke with David Ariano, owner of Ravinia Plumbing, Sewer, Heating & Electric.
What I learned was that even if the smell seeping from your disposal is something that you can no longer ignore, the cleaning process is a lot better and easier than you fear.
What you need
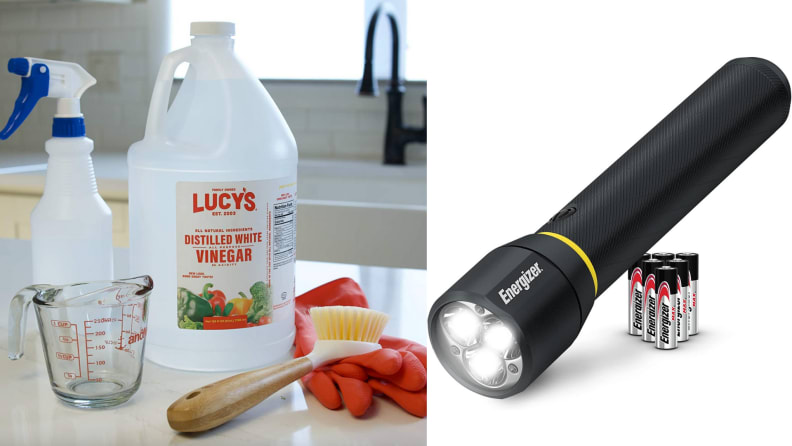
Industrial cleaning products aren't necessary for this project–baking soda and vinegar will do just fine.
- Rubber gloves
- Flashlight
- Tongs
- Grease-cutting dish soap
- Long-handled scrub brush
- Rock salt
- White vinegar
- Baking soda
- Lemons
How to clean your garbage disposal
1. First, turn off the power source
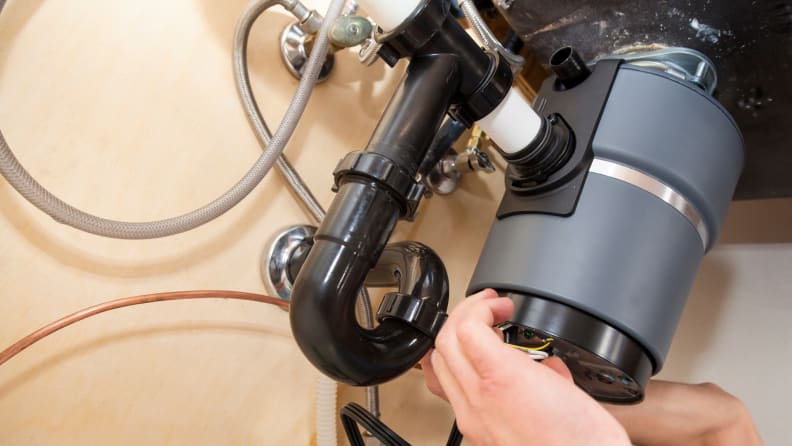
Disconnecting your garbage disposal from the outlet or breaker box is a step you don't want to miss.
The most important step by far is to begin the cleaning process by disconnecting the garbage disposal from its power source.
Ariano explains, “In many cases, the garbage disposal is powered by an electric cord that is plugged into an outlet, which is pretty easy to unplug. But, in some areas of the country, the disposal may be hardwired in. In this case, you are going to want to turn the electricity off from the breaker box.”
He also stresses how important it is to give the wall switch a few flips on and off just to make sure that you have correctly shut off the power source before you begin. You can imagine the potential dangers of sticking your hand into a garbage disposal and having it kick on.
2. Take a peek inside
After testing to ensure that there is no power running to the garbage disposal, pull on some rubber gloves and use a flashlight to take a peek inside. Can you see anything that isn’t supposed to be in there?
It’s not uncommon for larger food items to get stuck spinning around the blades but never fully going down the drain, so if you see anything that hasn’t been washed away, you can retrieve it with tongs, pliers, or even your hand if you are brave enough to take the dive. Of course, be careful not to brush your hands or fingers against the sharp disposal blades.
3. Get scrubbing
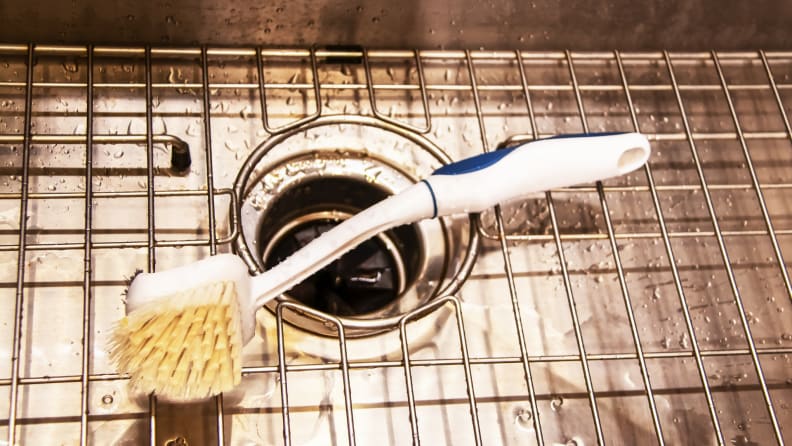
This task will require a substantial amount of elbow grease.
Using an old toothbrush or a long-handled scrub brush, lather it up with some grease-cutting dish soap, because it’s time to get scrubbing!
Ariano says, “The bad smell from the garbage disposal is often the rotting food that has been thrown around while being pulverized, which can stick to the walls and inner ceiling of the disposal unit. When it begins to rot, it begins to smell.”
Because of this, you’ll want to scrub everything, from the disposal blades to the inner walls of the unit, and even the unit ceiling, if you can manage.
4. Reconnect and rinse out the garbage disposal
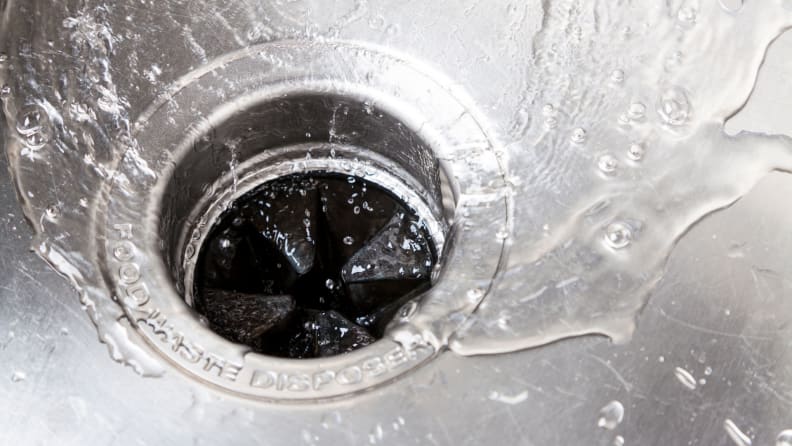
Rinse away the remaining gunk from your garbage disposal with hot water.
Congratulations, you’ve completed the difficult and gross steps of cleaning your garbage disposal. Now, it’s time to reconnect the garbage disposal to the power source.
After confirming that the disposal is once again running, it’s time to wash away all the grime you worked so hard to loosen up. To begin, plug the sink drain and fill the sink halfway with hot water. Next, pull the drain out, flip the disposal on, and leave it running while the water drains from the sink and through the disposal.
Bonus round: To ensure an extra good cleaning and rinsing, Ariano recommends packing the disposal completely full of ice plus one cup of rock salt. The couresness of the salt mixed with the density of the ice cubes will help scour any remaining grime off the disposal walls, ceiling, and blades.
5. Once it’s clean, deodorize
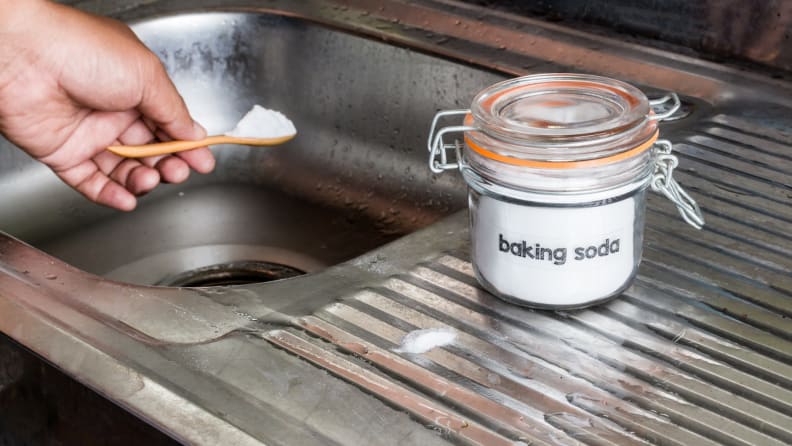
Sprinkling baking soda powder should neutralize any leftover foul odors.
The step that you’ll appreciate the most, and the reason you likely started out on this cleaning journey, is to remove any lingering yucky smells. To do this, you only need a couple of common kitchen items: white vinegar and baking soda.
Sprinkle one half cup of baking soda into the disposal, and let it sit for up to 30 minutes to absorb odors. Then, add a cup of vinegar, and for the next 10 minutes watch your work begin to bubble as the volcano-like concoction sizzles away any remaining smelly yuckiness.
Finish this step off by flipping the disposal on and running hot water through it for a minute or two.
6. Freshen up your kitchen with a blast of citrus

Fresh citrus scents are sure to boost the overall aroma in your kitchen.
Ariano recommends rewarding your hard work and your garbage disposal by tossing a handful of wedged or quartered citrus fruits (lemon, orange, lime, grapefruit) down the disposal drain, and then running the disposal for one minute.
7. Keeping up with routine maintenance keeps smells at bay
Everyone has better things to do with their time than cleaning a garbage disposal, which is why keeping this task on your regular cleaning routine can save you a lot of time in the long run.
There’s a few things you can do to make it easier to maintain your garbage disposal’s fresh state.
“Contrary to popular belief, you want to run cold water through your disposal when it’s clearing away food, not warm water,” says Ariano. “Cold water helps fats and grease that are in foods stay stuck to the food while it’s being chopped up, rather than liquefying and sticking to things it shouldn’t.”
Also, he says, “running the disposal for at least 20 seconds after you hear the food clear will help ensure that everything makes its way through the garbage disposal and into the drain pipe before it has a chance to sit in the bottom of the disposal and start to stink.”
Also, there are a variety of items that you should avoid putting in the garbage disposal in the first place, like bubble gum, excessive bones (like a rack of ribs), and grease.
To regularly deodorize and freshen your garbage disposal, run hot water through the empty disposal and keep the citrus peels coming; not only will the peels help keep the inner walls and blades clean, but the acidity helps cut down on bacterial growth and leaves the whole unit smelling fresh.
Related content
The product experts at Reviewed have all your shopping needs covered. Follow Reviewed on Facebook, Twitter, Instagram, TikTok, or Flipboard for the latest deals, product reviews, and more.
Prices were accurate at the time this article was published but may change over time.


